Entryway makeover
This budget friendly entryway makeover uses paint, tile, wallpaper, and decor. See the dramatic transformation of this space. These design elements can be achieved easily with a few DIY projects.
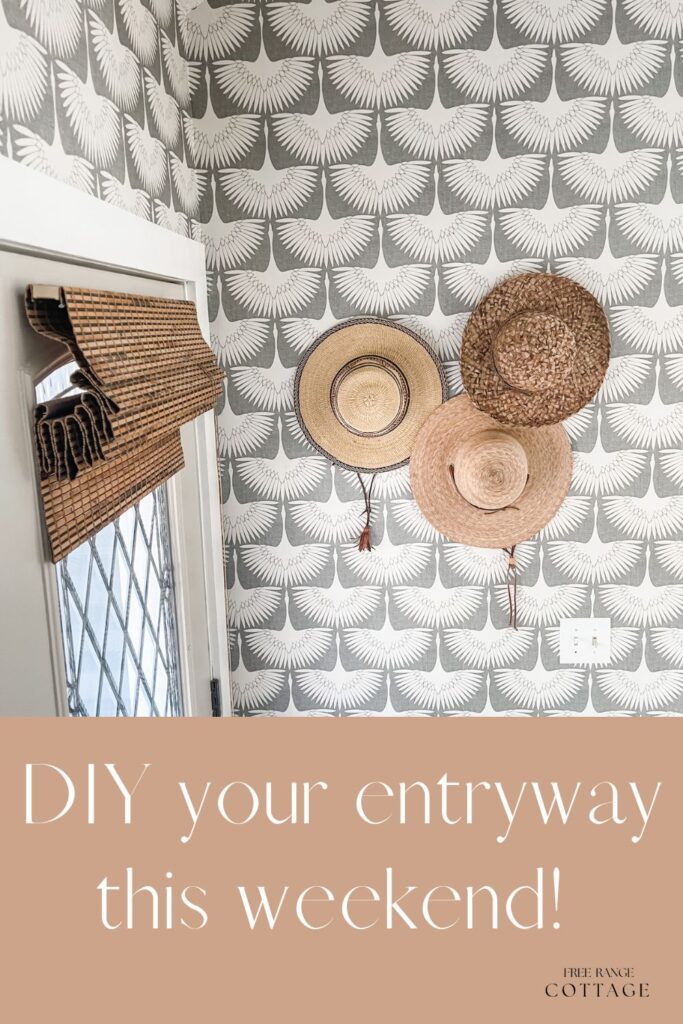
Makeover your entryway this weekend!
The links included may be affiliate links. If you purchase through my links I may earn a small commission without any added cost to you. Thank you for supporting my small business!
A small entryway is challenging to decorate. Especially if it’s your main entrance and has to be functional and beautiful.
My least favorite part of our house is right when you walk in the front door. The narrow entryway. Ok it’s not just least favorite, I hate it. It’s the first thing people see when coming into our house.
It’s a tight little space that is a few steps into the living room to your left, and a stairway (in need of a makeover) to your right. There isn’t room for an entryway table, shoe racks, or a simple bench.
This area has been an eyesore for twenty years! Good thing it’s a small space.
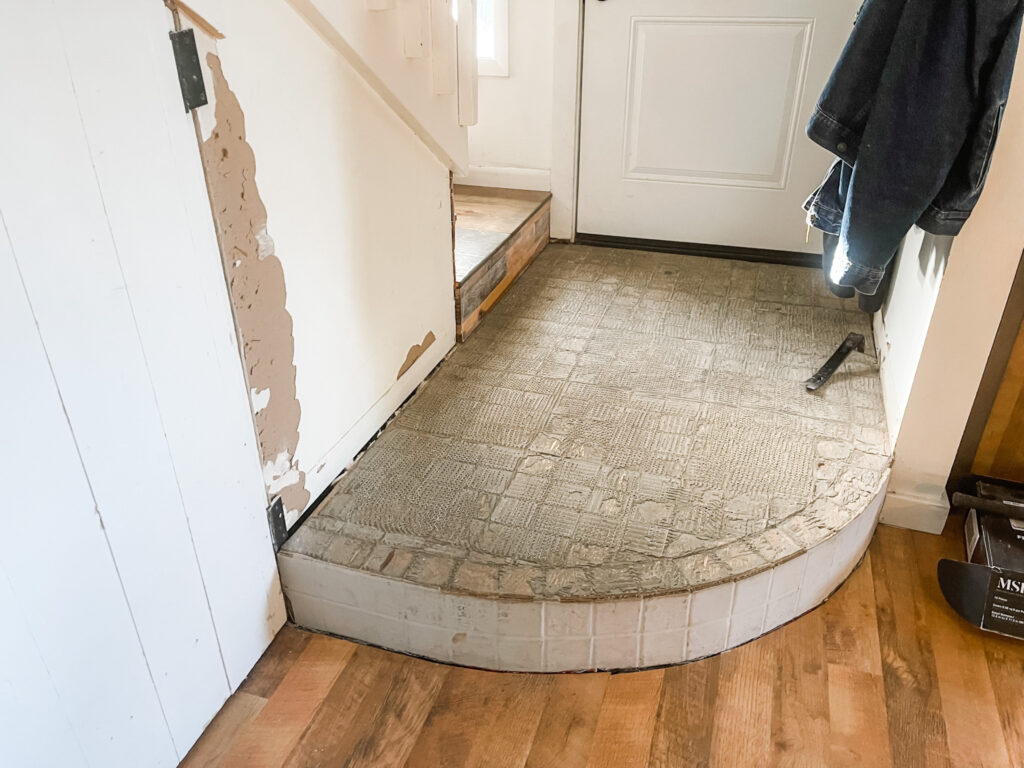
The original tile was just an ugly and dated color. The stairs were covered in carpet that inevitably became stained and matted.
We had absolutely no money to remodel them. But I ripped off the carpet anyway. The plywood subfloor wasn’t so great either. But to me it was still an improvement. I used pliers to pull out staples until my hands were sore.
DIY definitely isn’t the easy way to get things done. But for me, it was the only way it was going to happen.
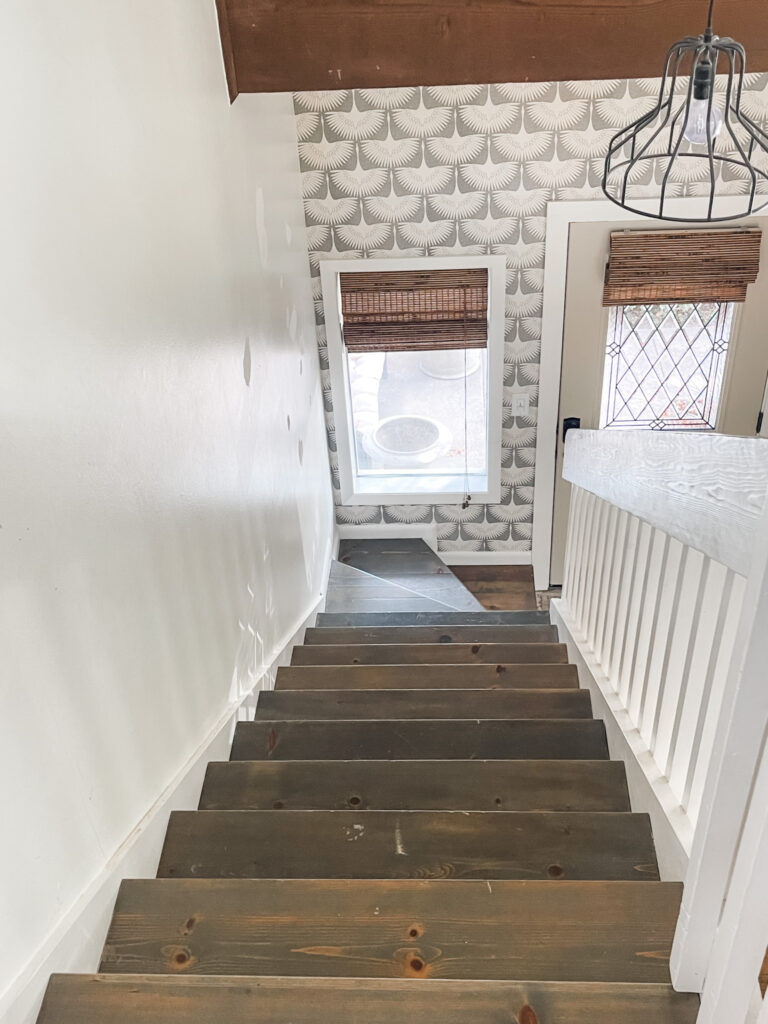
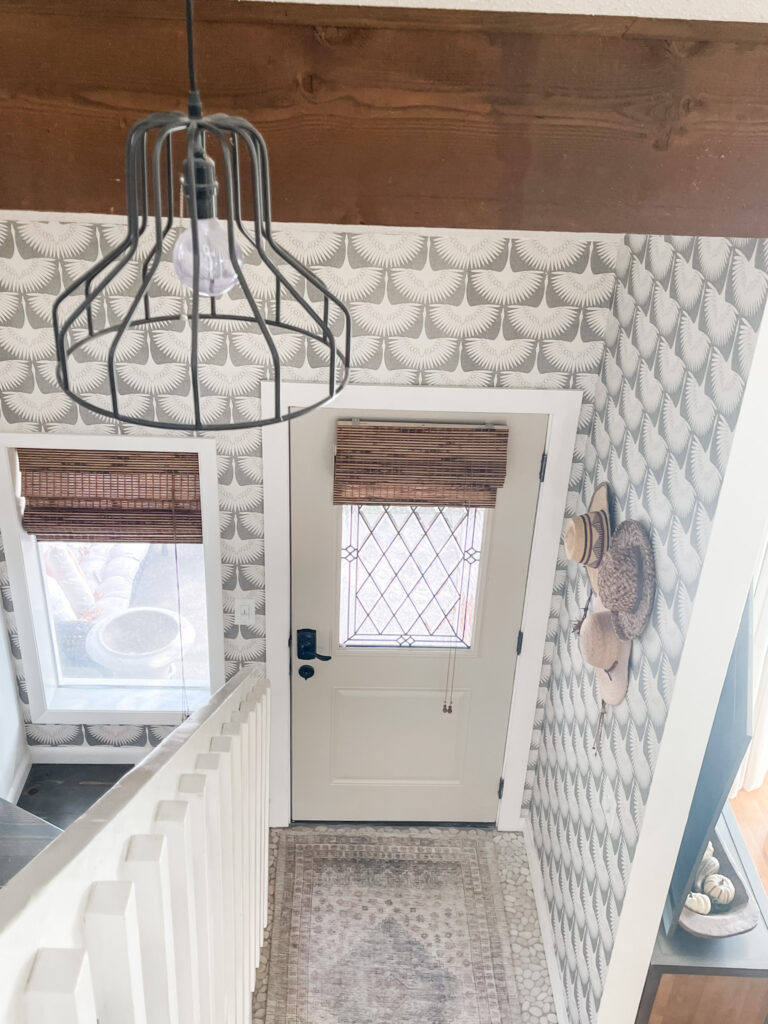
We did add a new light fixture to replace the original eighties style old light fixture. I also added a coat rack made out of vintage wall hooks collected from flea markets.
The old door and door knob were replaced along the way as well.
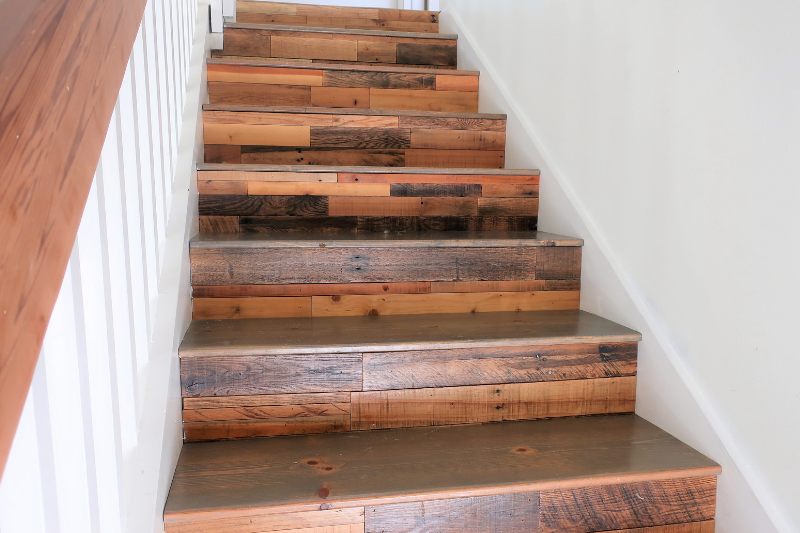
My husband Rob painstakingly added pallet wood to the front riser of the stair steps after we put new pine top treads on.
Then there was no more progress on the DIY entryway makeover. We had to work on other home repairs that were higher priority.
It was that way for several years. Fast forward to several months ago when I could no longer stand to look at the old tile on the landing. There seems to be a pattern here.
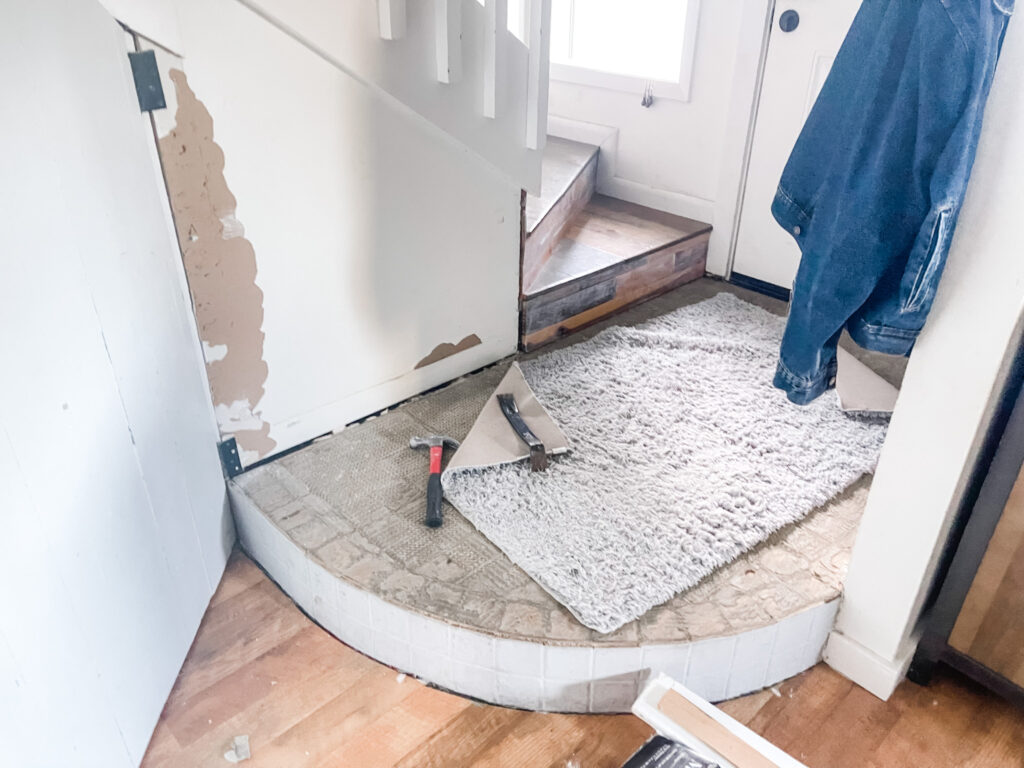
I have a hammer and I (kind of) know how to use it!
Actually let me back up. I tried to paint the tile first. A fresh coat of paint can solve a lot of problems in my experience. This was a disaster and completely ugly. The leaf imprints as well as the randomly sized tiles looked just as bad, no matter what color they were.
So the tile was cracked up with a hammer and scooped into the trash. I had wanted to do that for a long time. However, it didn’t improve this first step into our home!
Cue dramatic music here. Because right at that time, our shower in our Primary bathroom sprung a leak. Maybe it was leaking for awhile and we just found some pooling water?
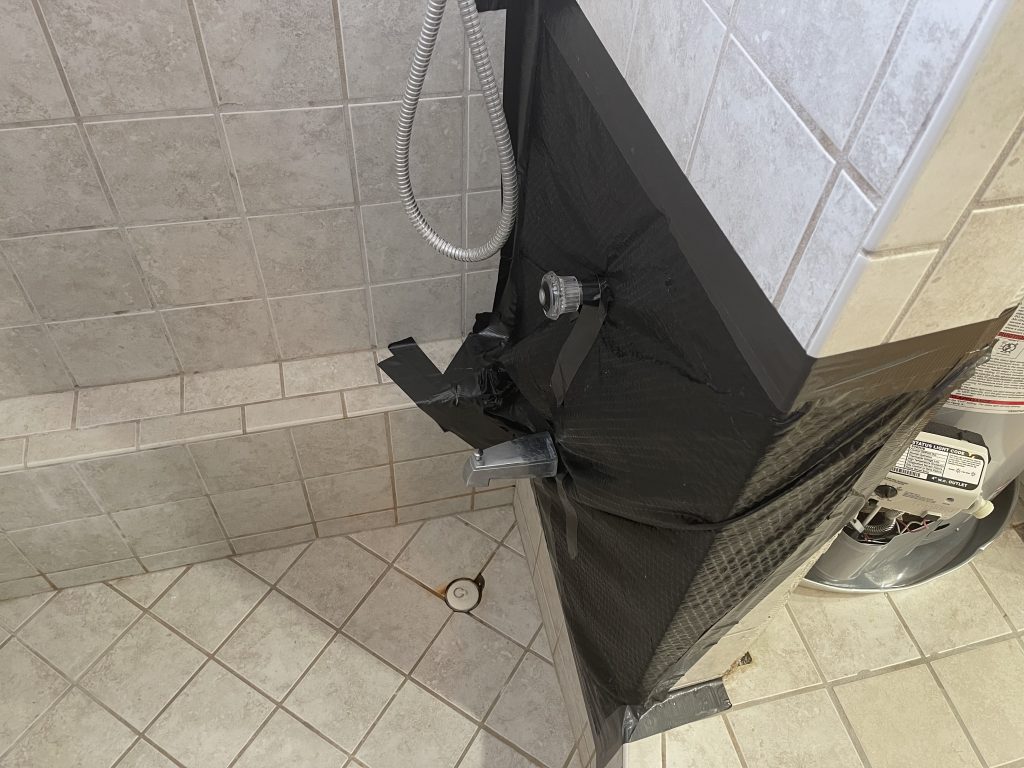
Anyway, the entryway had to be abandoned again! There has been no tile on the landing for months. Let me tell ya, it looks worse than when it had the old tile on it. I didn’t think that was possible.
It’s been time for a fresh new look for our small entryway space. I’ve been looking through DIY entryway ideas on Pinterest.
I think even though our landing area is tiny, it still has great potential to be adorably cottage cute! After all, an entryway, no matter how small, is still the first impression of your home.
Links to everything we used in the entryway makeover are found below (in the box)!
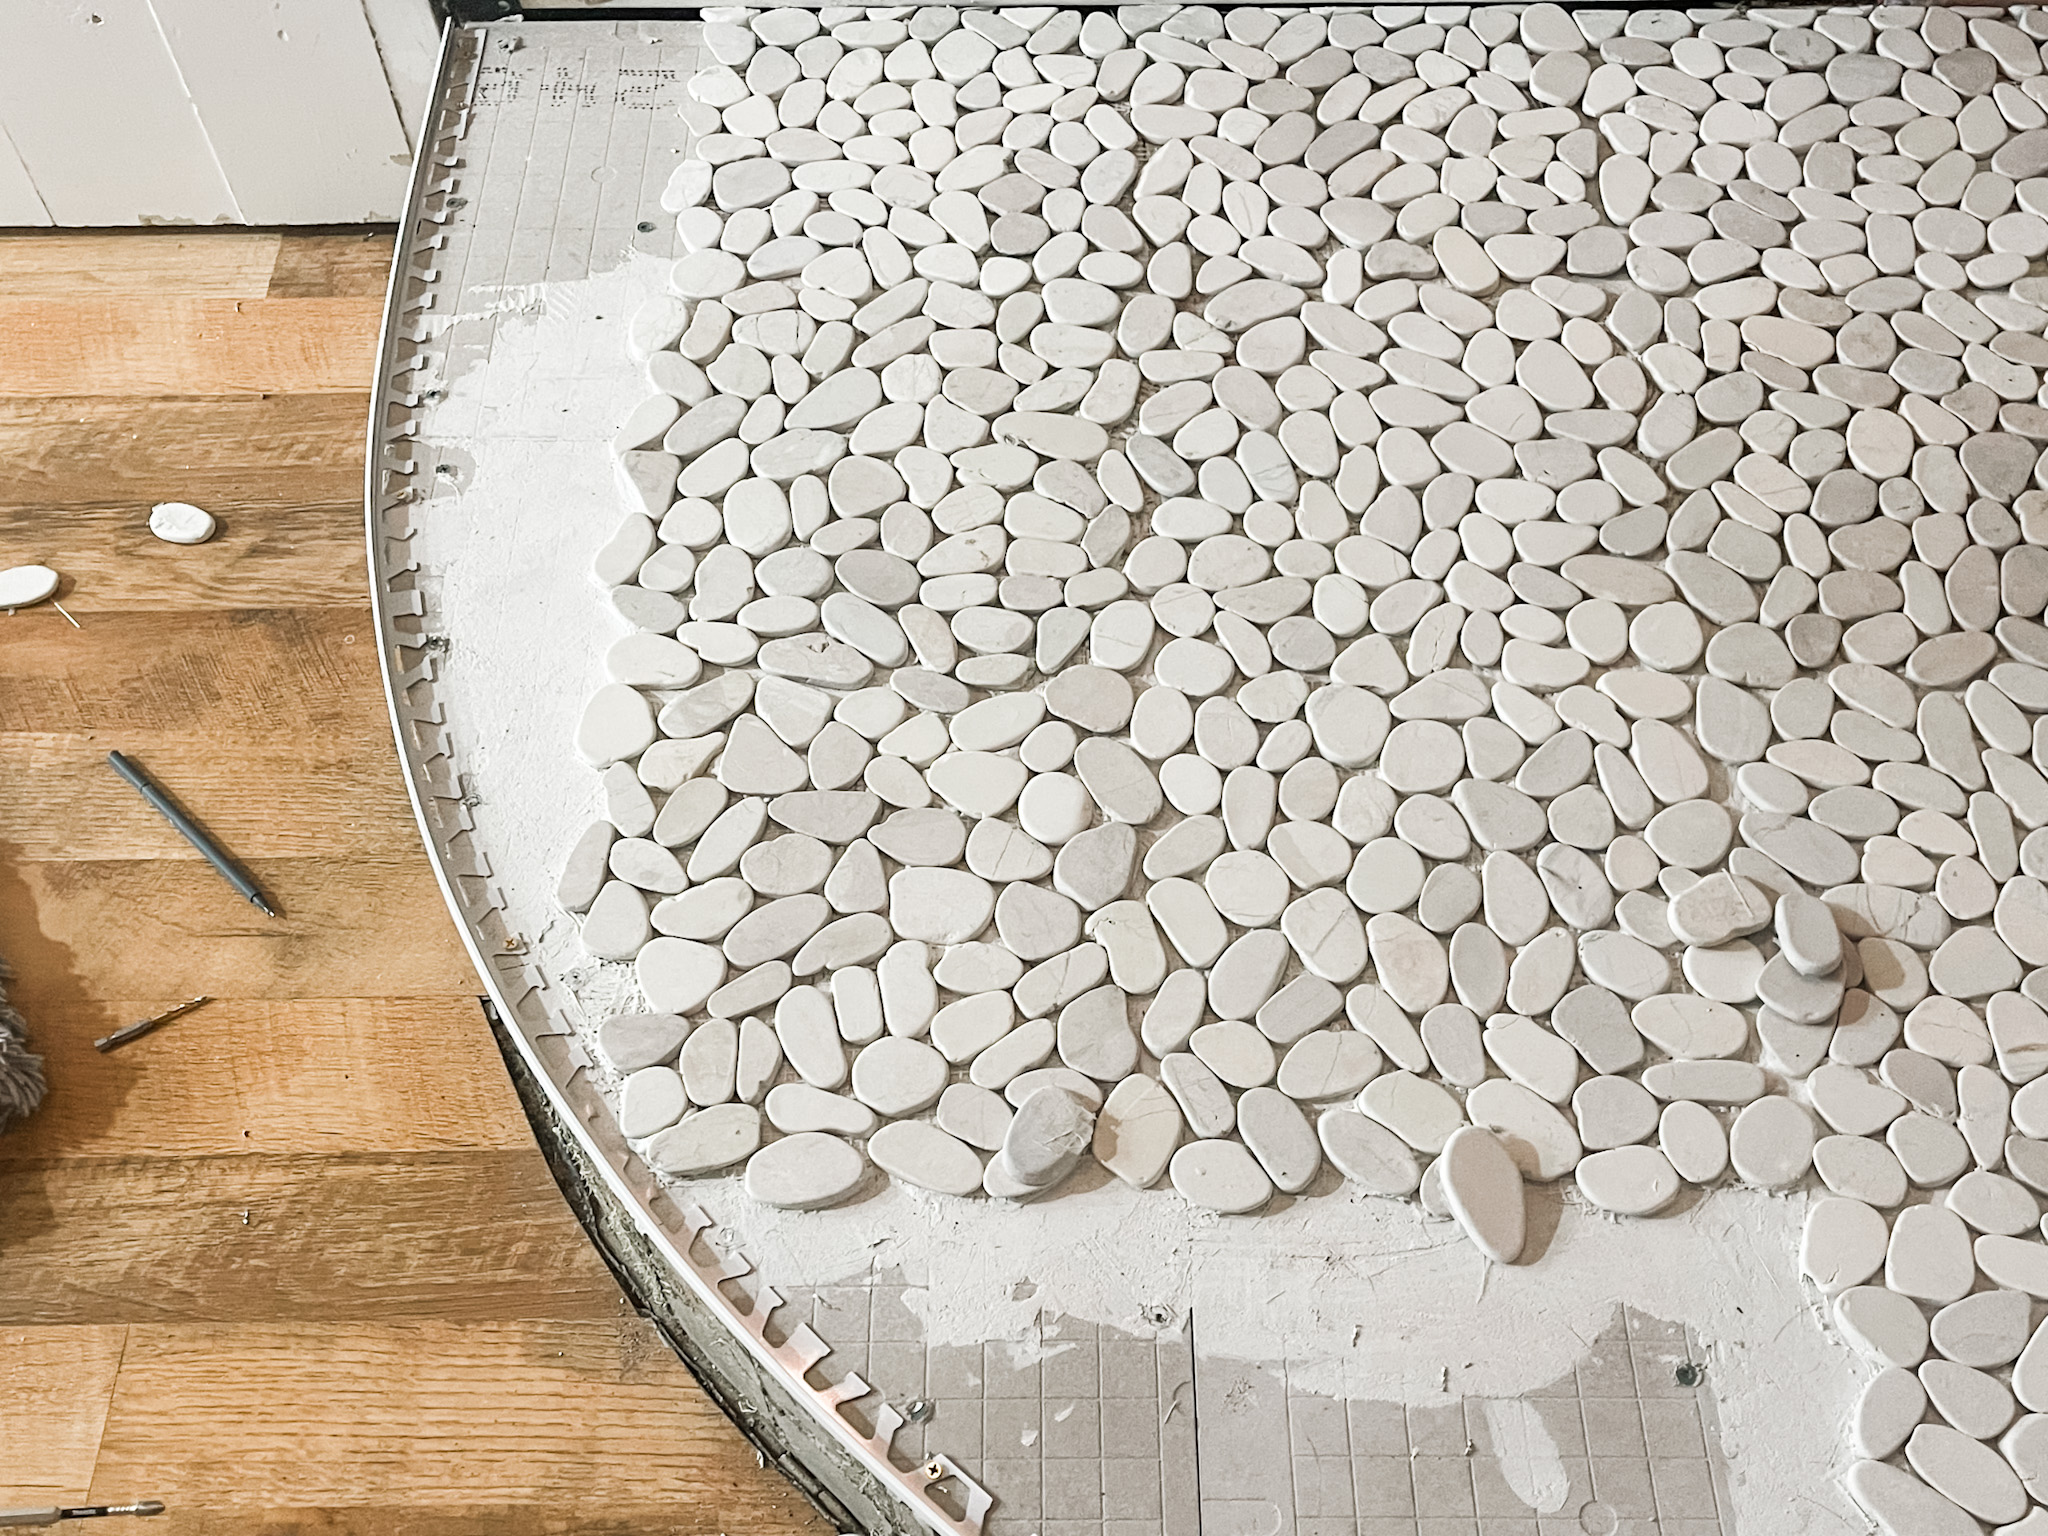
Part 1: Pebble Tile
I’m overjoyed to say that this DIY entryway makeover is done.
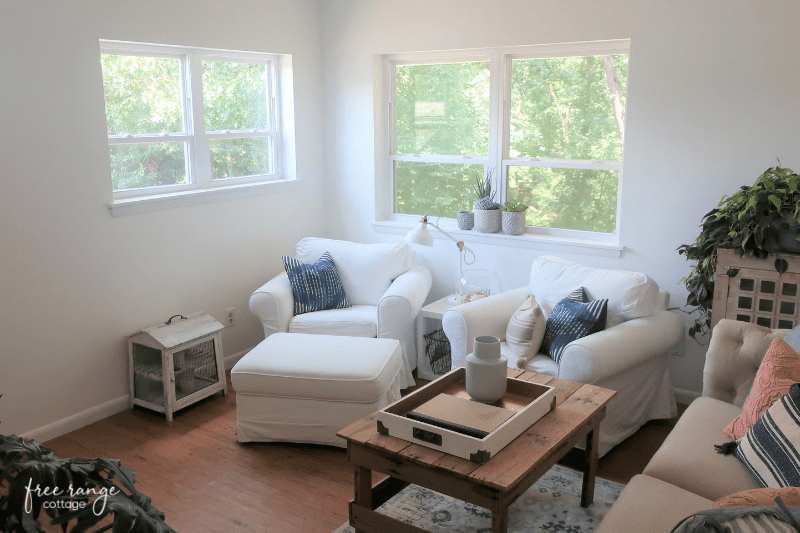
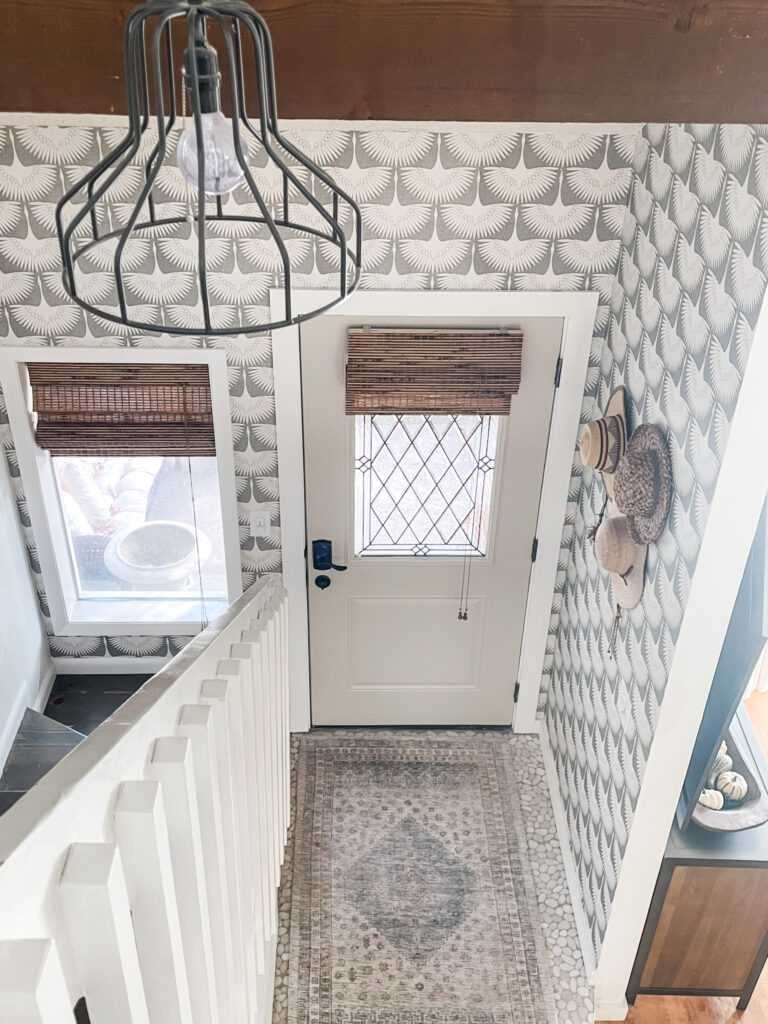
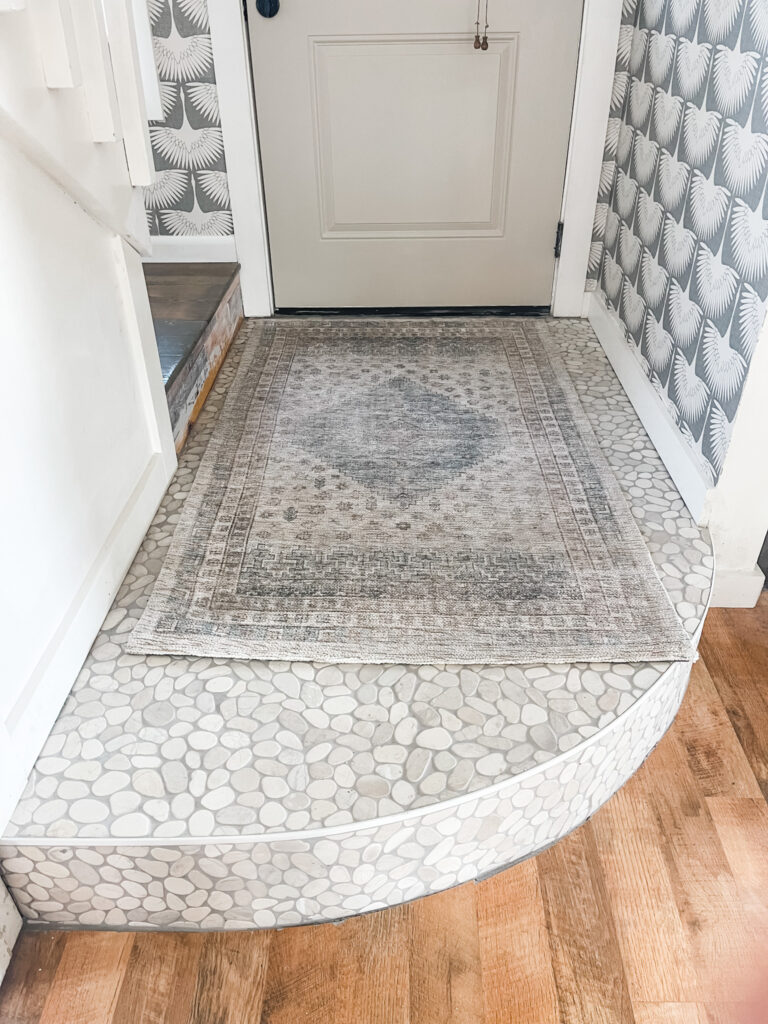
The Pebble tile is installed, grouted, and sealed! It blends in perfectly with our cottage style living room and dining room.
We chose Pebble tile because it works with the rest of our floors. I would like to replace them eventually. However, adding this neutral but textural tile has made a great impact right at the front door.
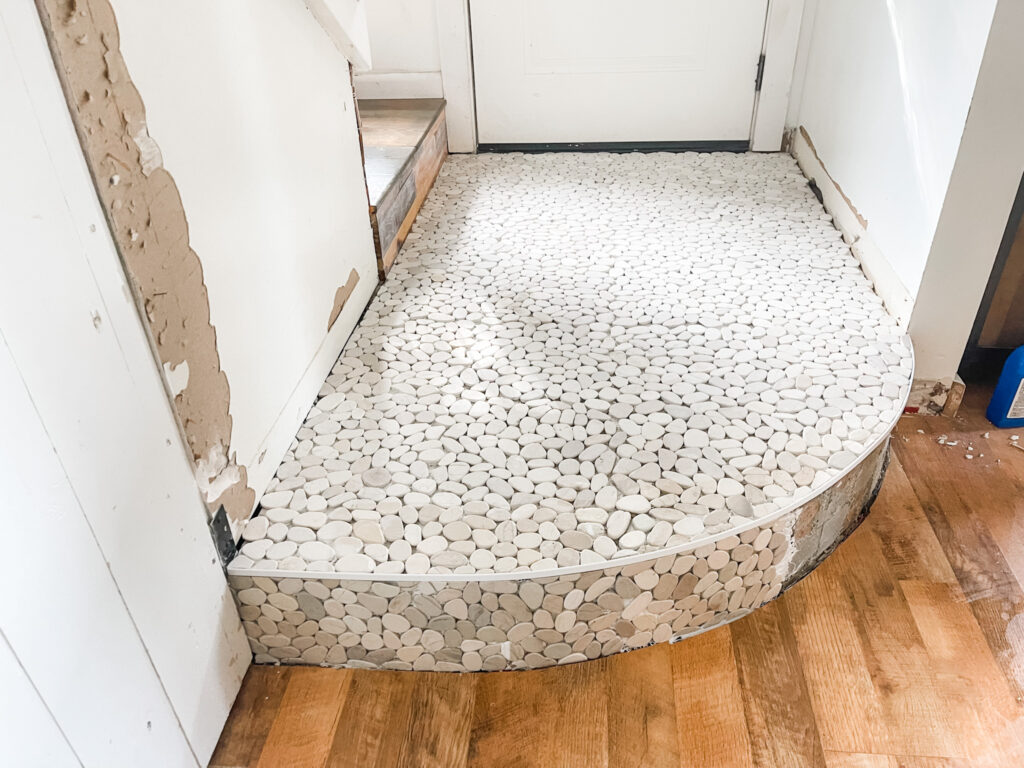
We had a challenging layout here with the curved step. I’m going to do a more detailed post on the Pebble tile installation and what we learned.
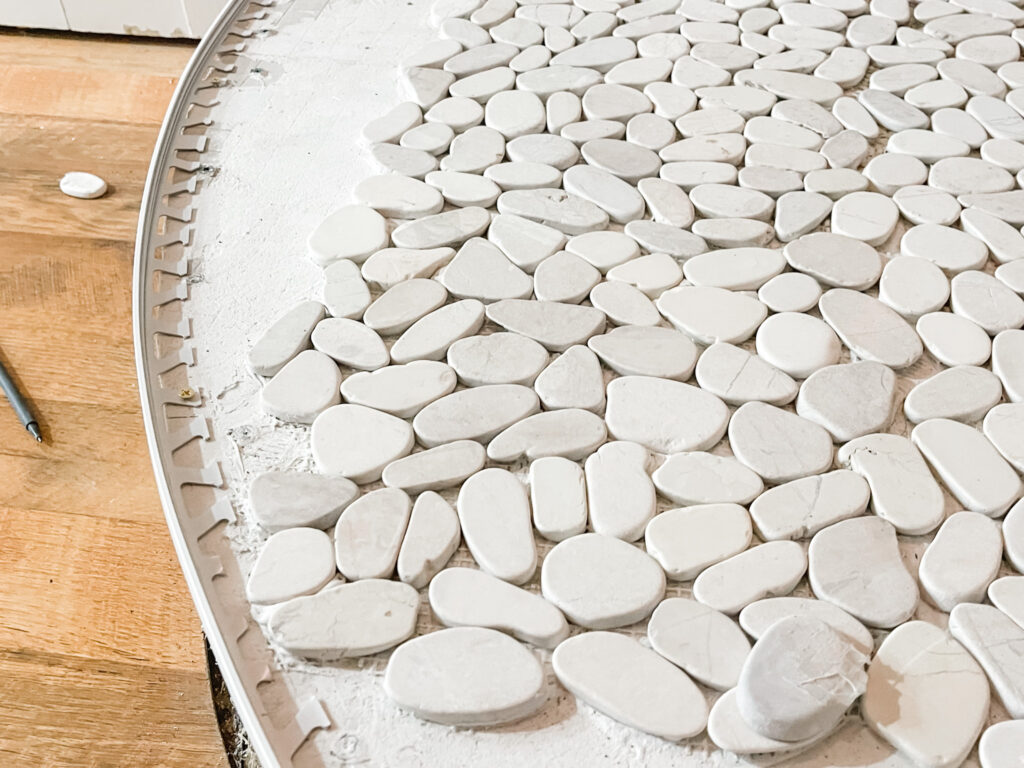

The installation went quickly once we got started.

Finally it feels like a completed, intentional space.

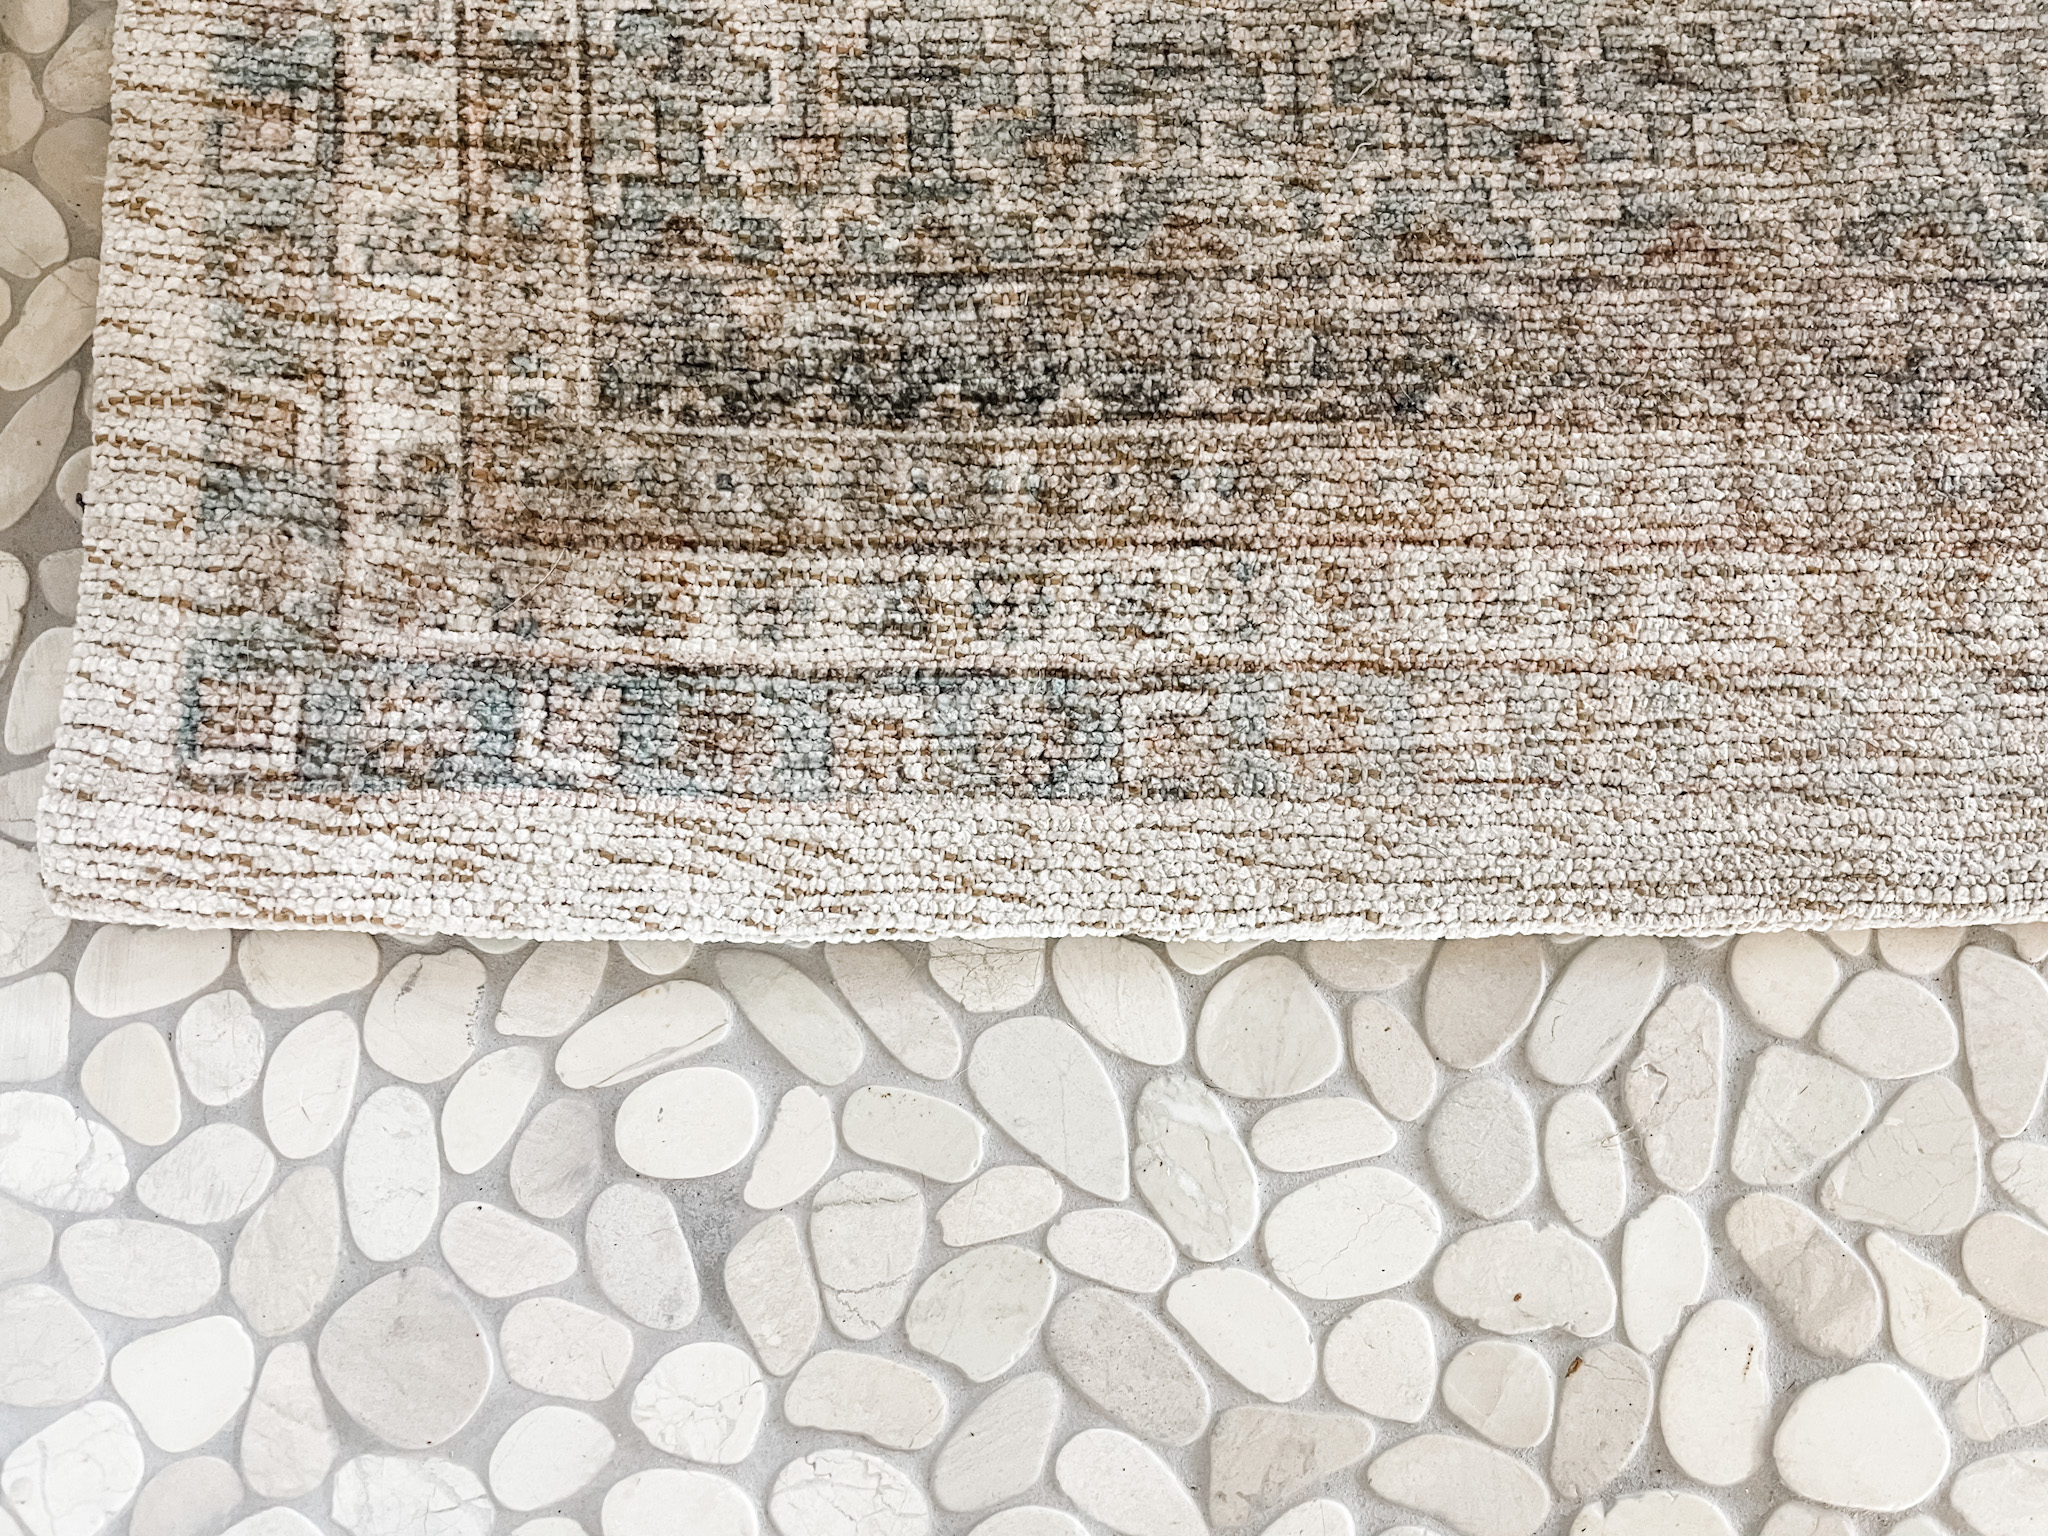
I added this rug from Target. It took a couple of days for it to flatten out. But it’s laying nicely now!
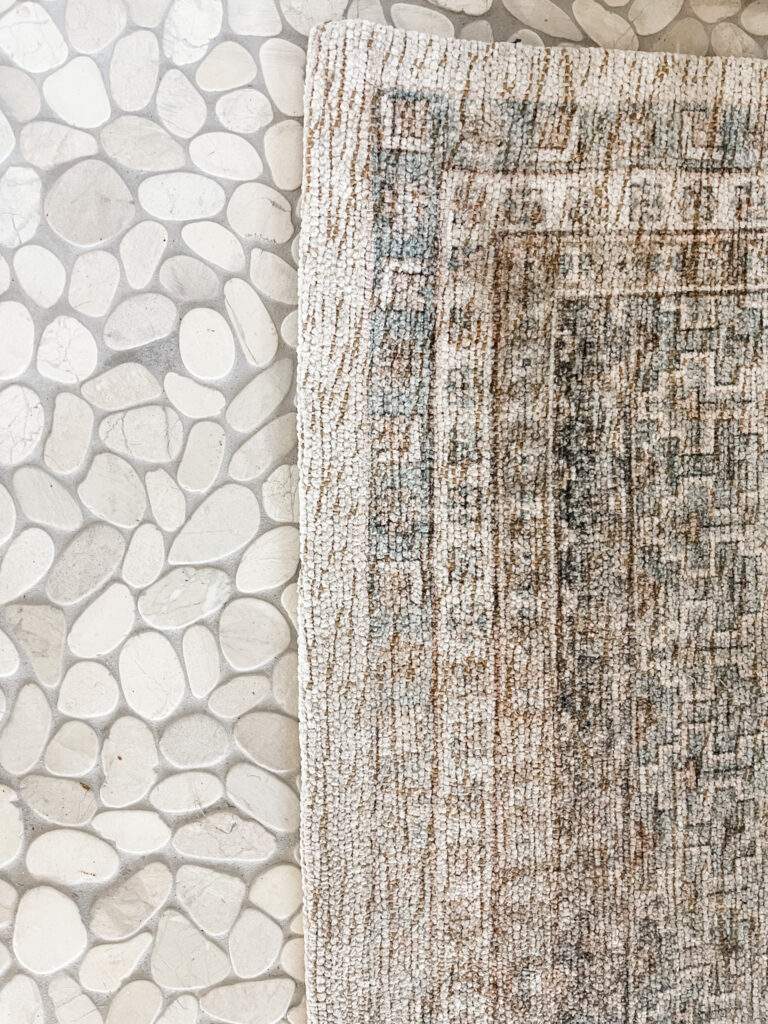
It’s always hard to tell the colors of rugs online. This rug has a light blue, ivory, and various browns. It’s very subtle and goes well with the creams, and grays in the tile and wallpaper.
Part 2: Paint
It seems that every home improvement project includes paint.
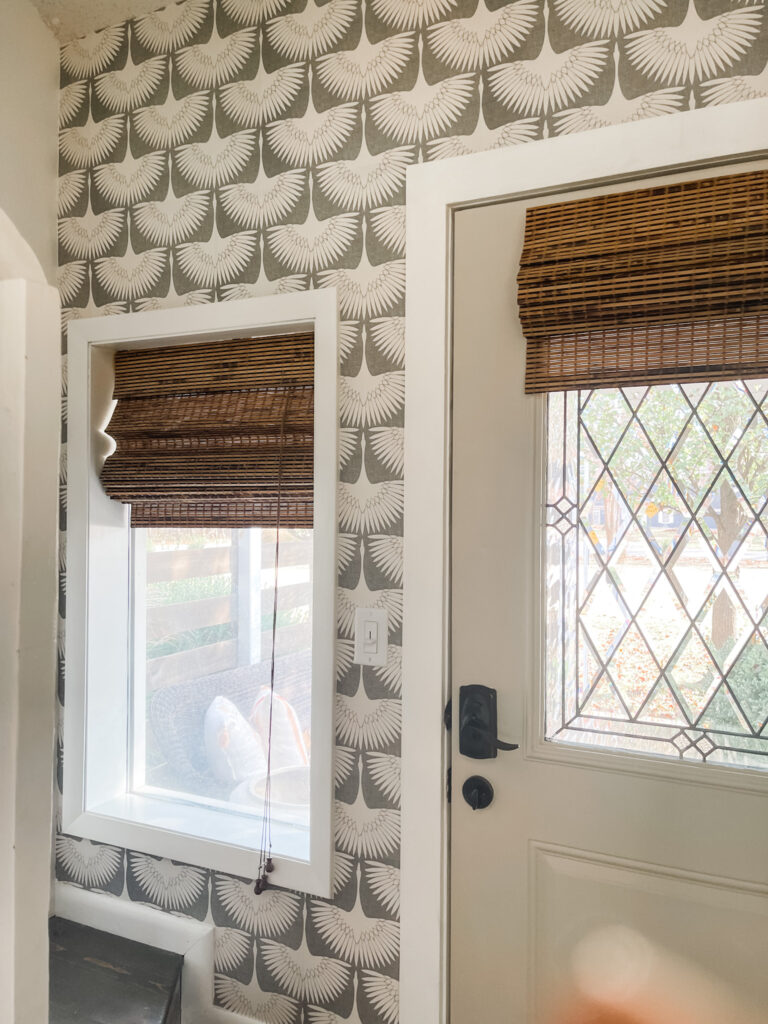
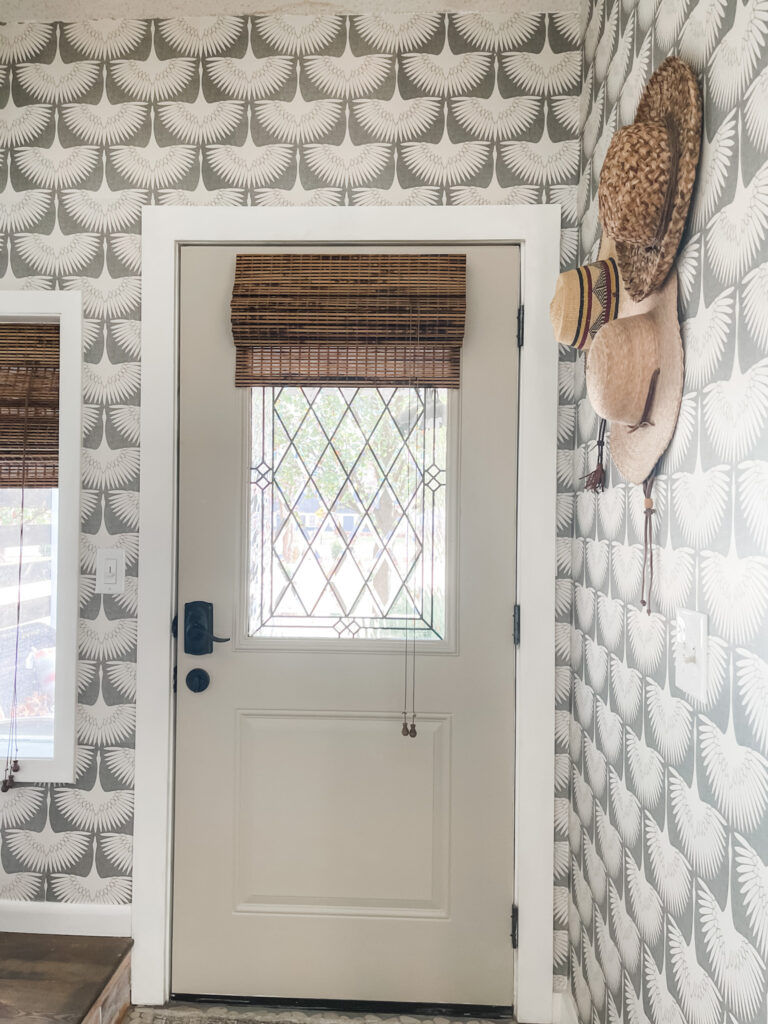
I touched up the trim around the door and window. I also added a beautiful, neutral to the back of the door. It’s a custom mix that I’ve included here.
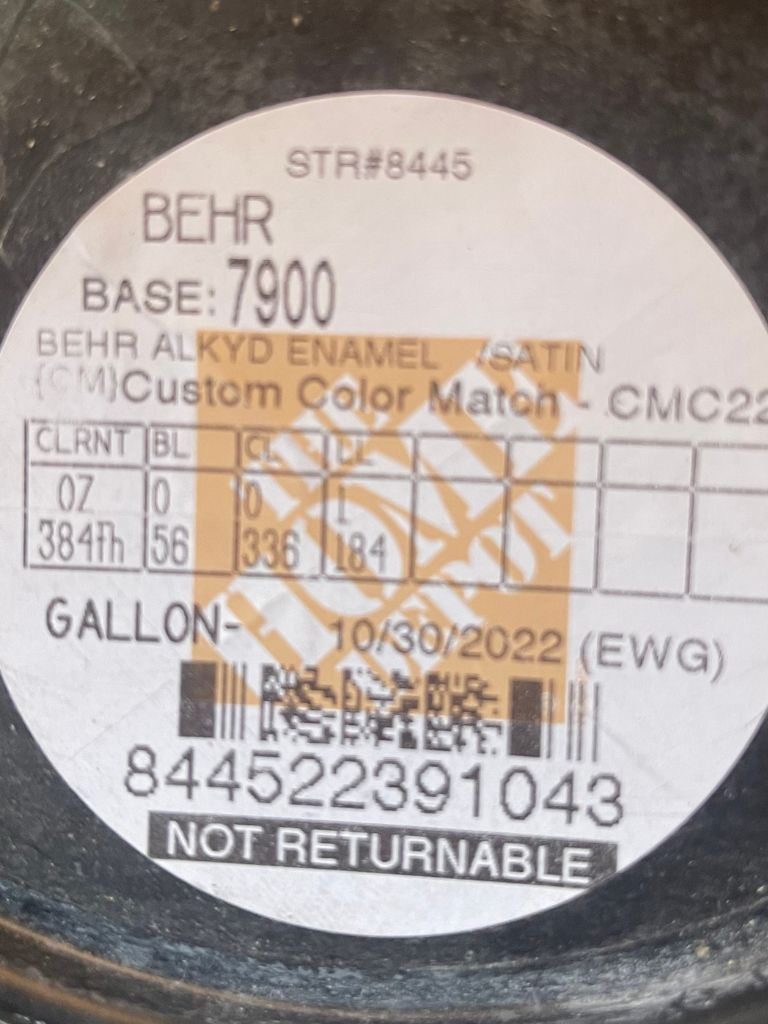
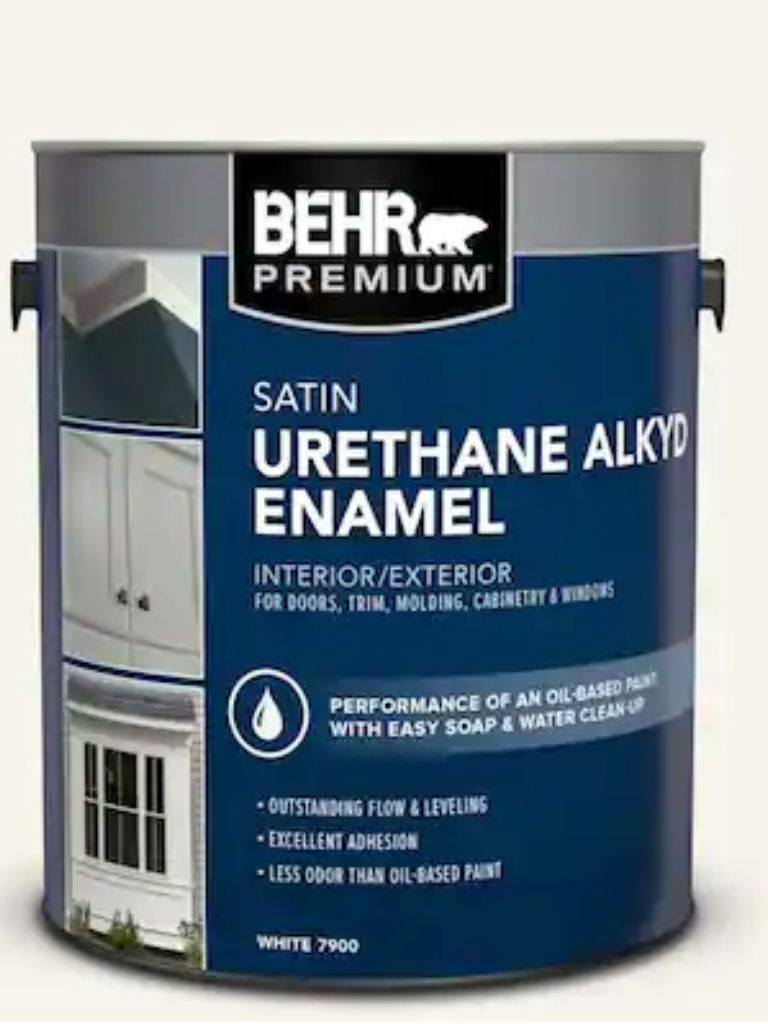
We used a Urethane Alkyd that is extra long wearing for doors and trim. It’s self leveling and went on smoothly. I’m very happy with the finished paint job result.
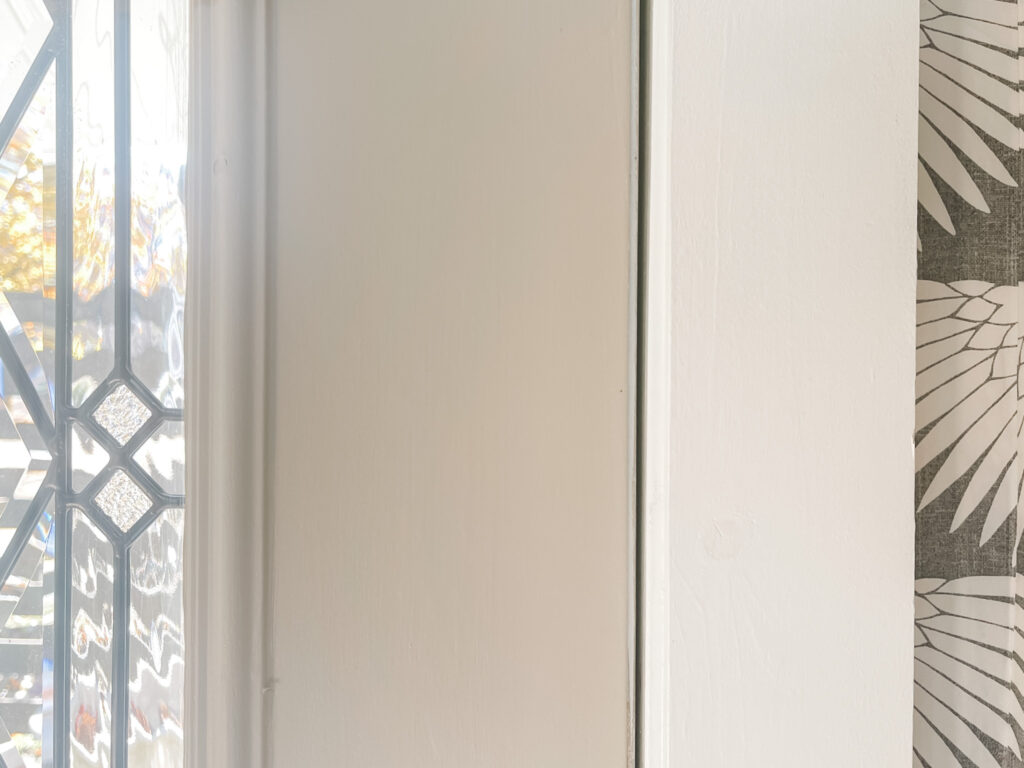
You can see the contrast of the door against the trim. I used my favorite white, Benjamin Moore Simply White on all of the trim.
Part3: Wallpaper
I felt that the area needed a wow factor. I wanted to set the tone for the rest of the house.
I already had a couple of rolls of this wallpaper from another area it was put up in the kitchen. I ended up taking it down. But I still loved the wallpaper and figured I would use what I already had.
I only added wallpaper to two of the walls. The wall without the window is very tall. I ended up having to order a couple more rolls of wallpaper. I think the end result is worth it!
This is peel and stick wallpaper. So if we get tired of it, we can change it out. However, I don’t see that happening for a very long time.
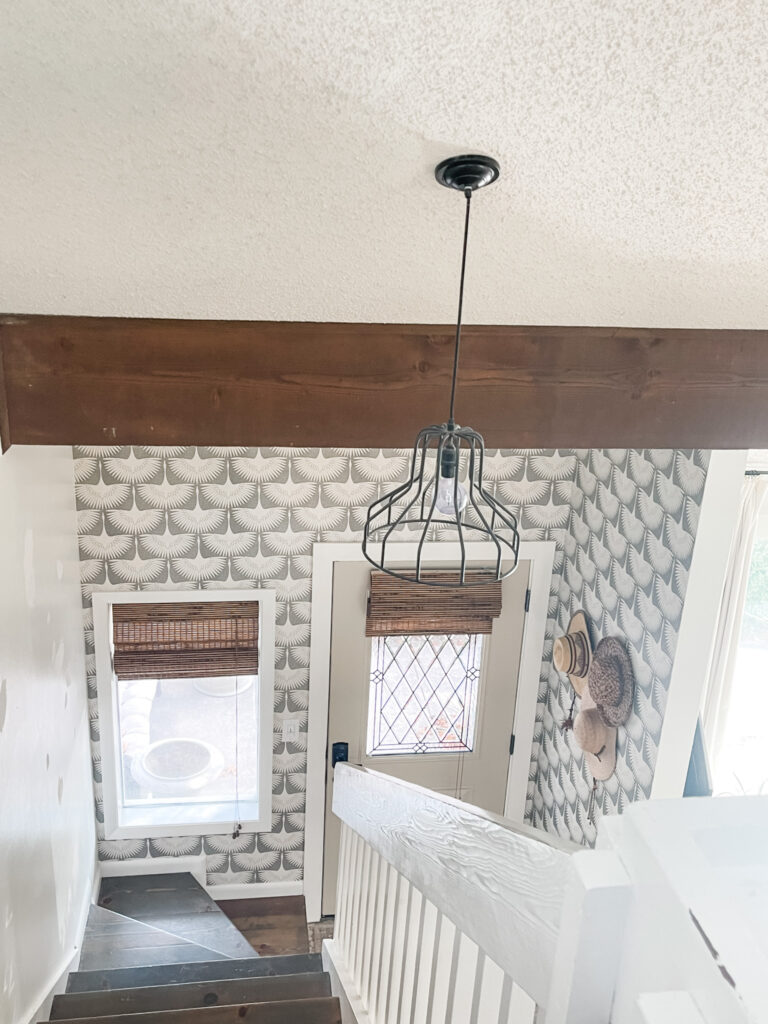
It looks so fresh when looking down from the stairway. The wall to the left and the stairs themselves will be getting a makeover soon as well.
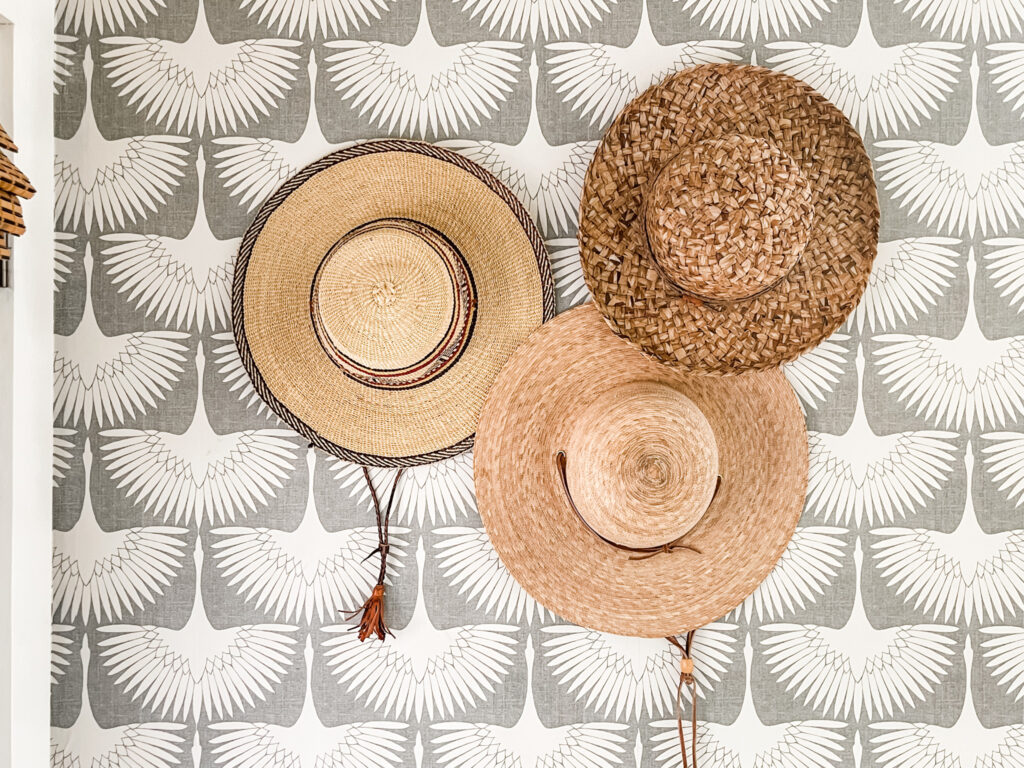
Part 4: Decor
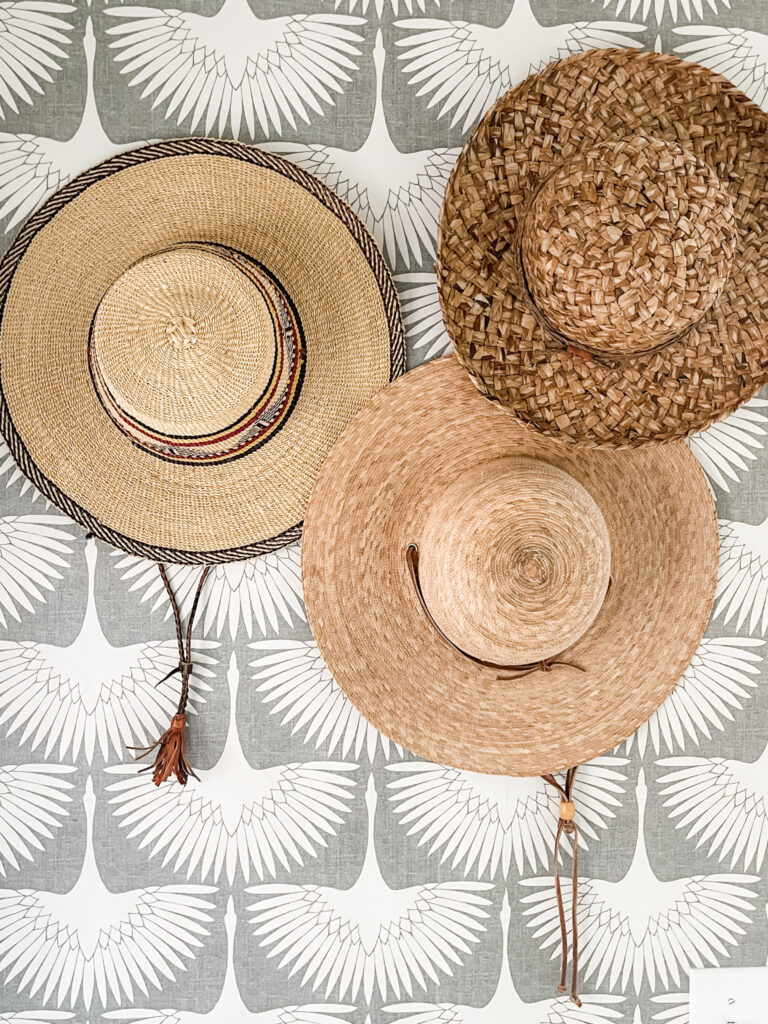
For a decorative element in the entryway makeover, I added in vintage hats and a rug.
I found two “handmade in Mexico” hats at an Estate sale. The other one is a vintage Liz Claiborne that I thrifted.
The additional texture on the tall wall is just what it needed.
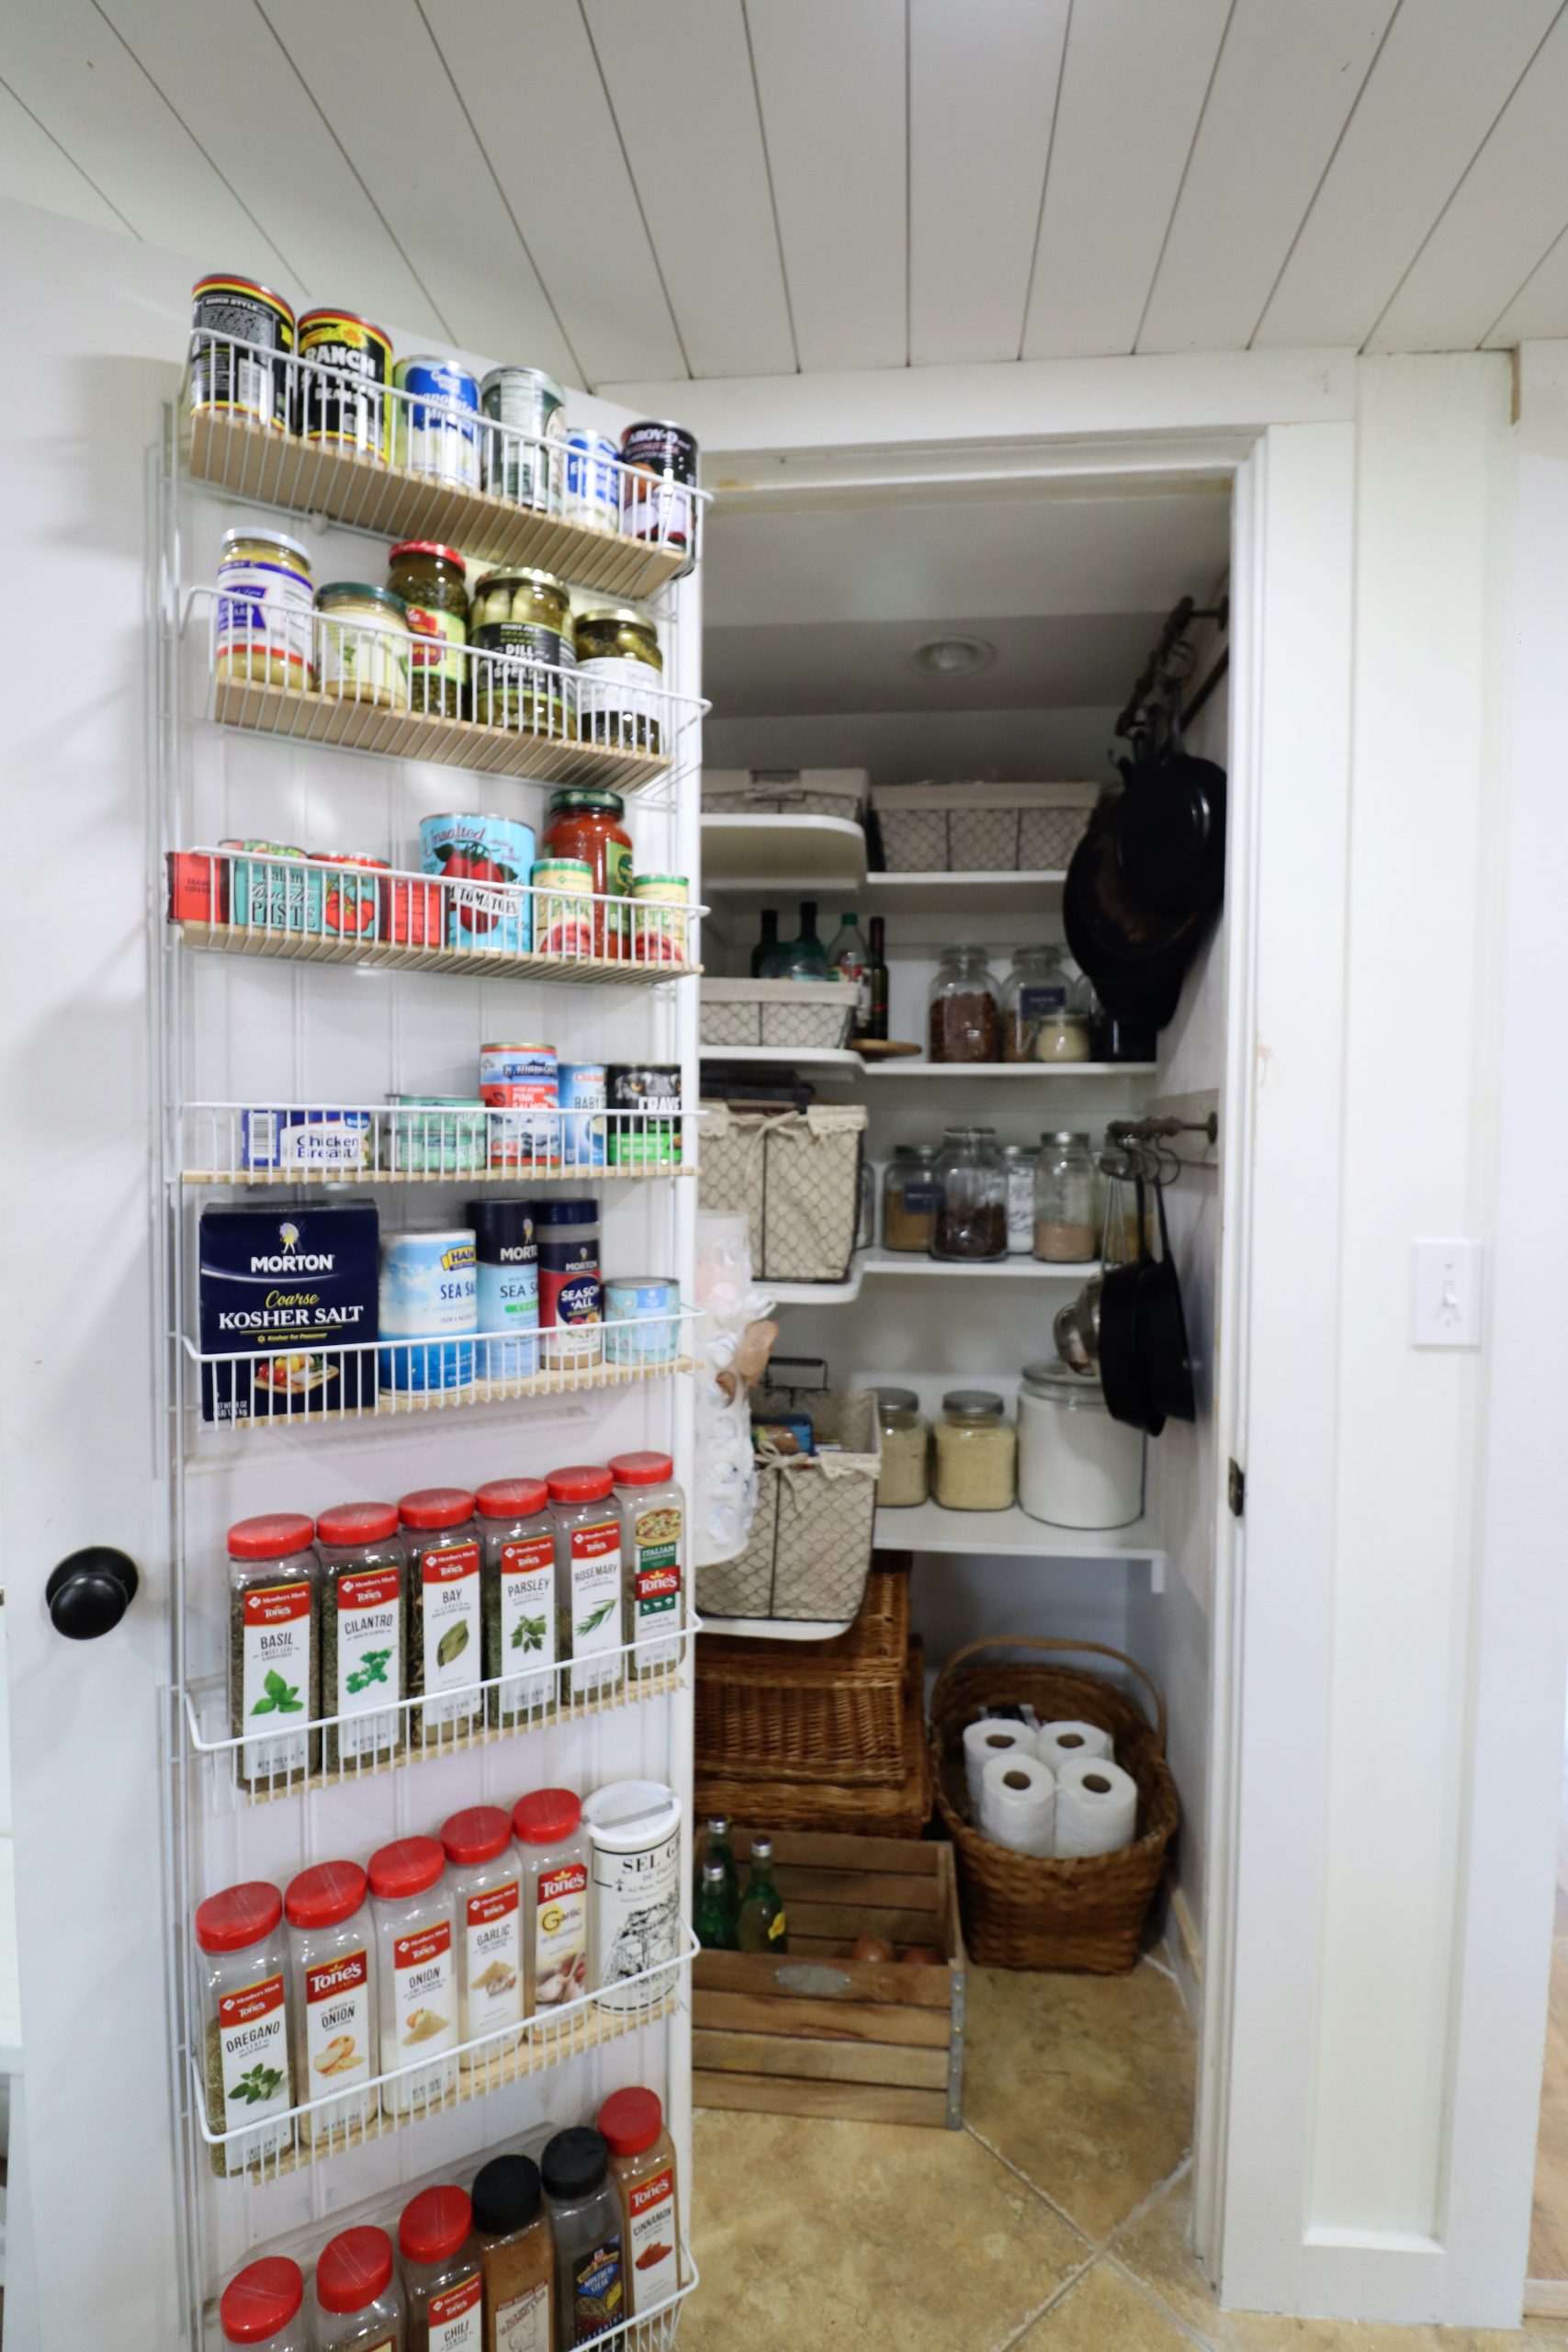
We removed the coat rack and will store coats in the small closet nearby. It was functional. However, the pile up of coats right at the front door was no bueno for me!
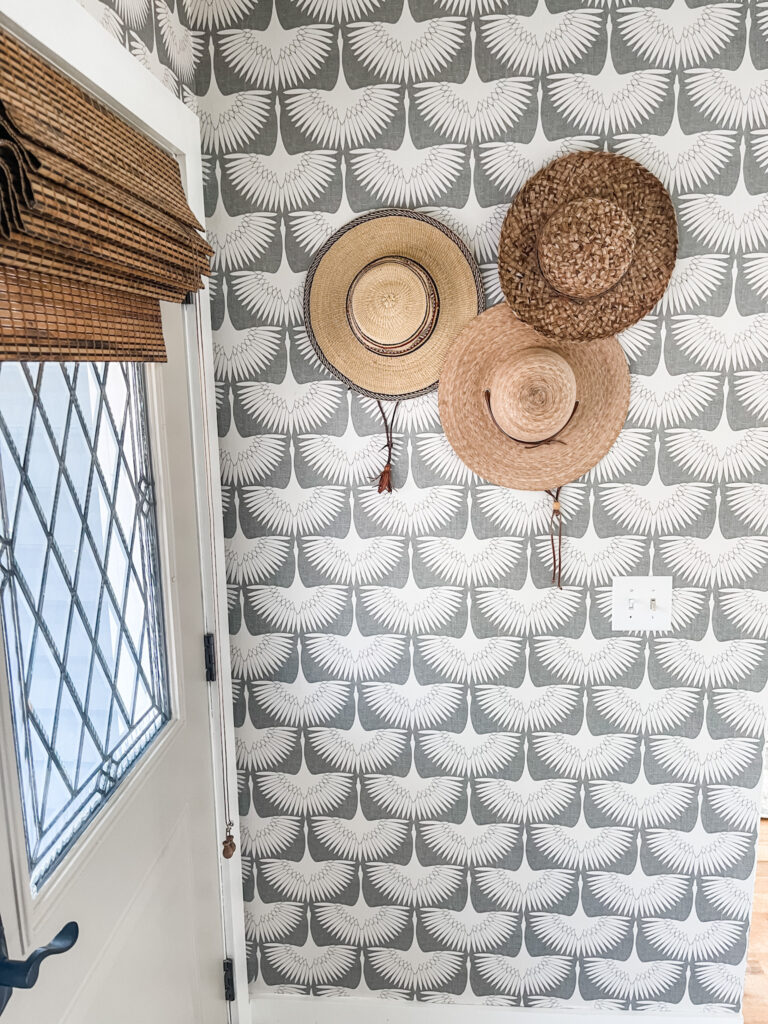
I used stick on hooks so that I didn’t have to nail through the wallpaper.
I can’t say enough about this rug. The subtle colors go great with all of the other neutrals in my house. We haven’t put a rug pad under it yet. It’s heavy enough that it doesn’t slide around.
I’ve just vacuumed it off several times and it looks as good as new.
It comes in bigger sizes also!
We’re very happy with our completed entryway makeover. I can finally check it off of my list!
Shop this post: Click on any of the links in the box below to shop.
Our Favorite
Design Ideas
More DIY & Design Ideas
*Make your bedroom feel luxe on a budget
*DIY a cheap & easy Shiplap wall
*Make your own kitchen island from IKEA cabinets
Thanks for stopping by today. I appreciate you so much!