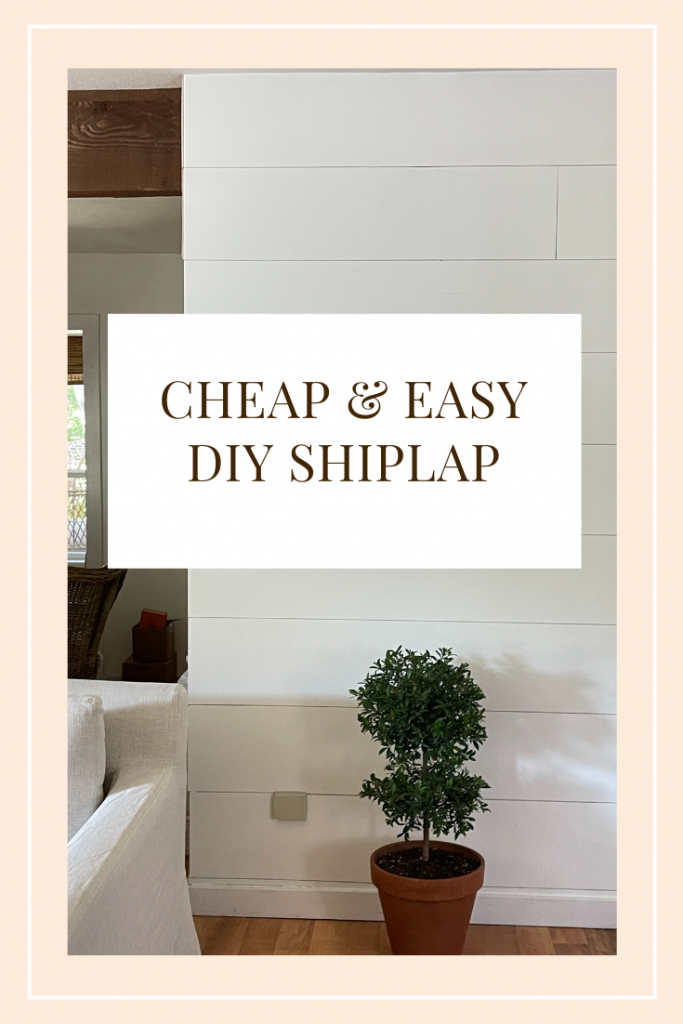
Cheap and Easy DIY “Shiplap” Wall
Learn the secret to make a cheap and easy DIY Shiplap wall, with this simple tutorial! All it takes is inexpensive plywood, nails, and a few nickels!
With the high price of lumber these days, I just wasn’t sure if we were going to be able to Shiplap the walls that I had planned on (for so long!).
But I’ve never let a small budget stop me from creating a home that I love, and you shouldn’t either.
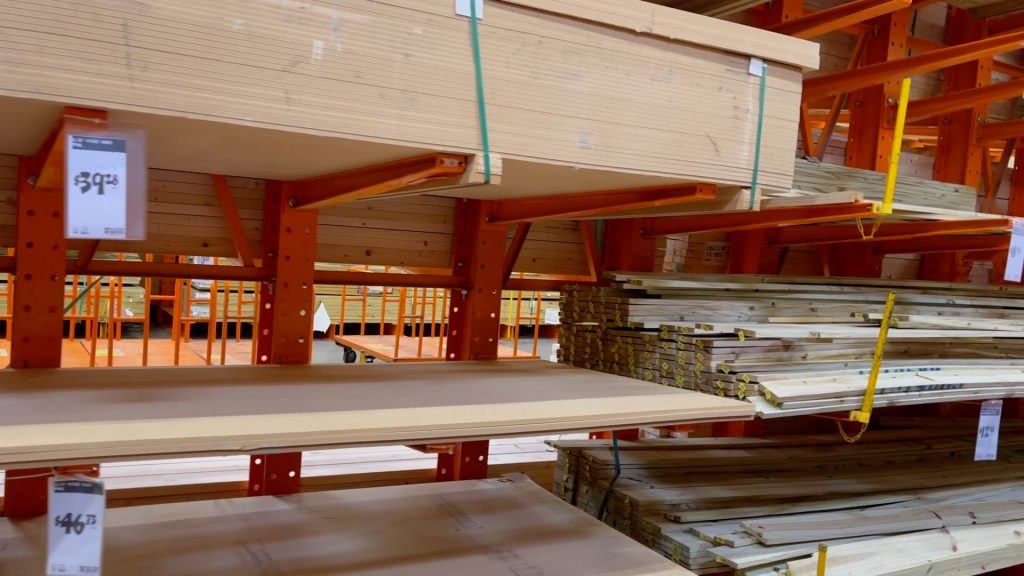
We started by looking around at our local hardware stores to price things and see what we could come up with on a small budget. But it also had to be easy to install or, let’s face it, it wasn’t going to go very quickly!
I want to cover a lot of walls with a gorgeous Shiplap look, so we ended up deciding on Utility plywood. It’s thin but still easy to work with. I love the smooth finish and how it gives the “look” without the cost!
On another note, there are those in the “home decor” social media world saying that Shiplap is out. I don’t agree at all! It goes with every style from modern to rustic. It adds texture and architectural interest. Although, there are many wall treatments to choose from, I think Shiplap has become a classic.
Tips for Installing a Shiplap Wall
When choosing your plywood, make sure you decide which side will face out and get the best pieces you can find. Often, when they’ve been stacked there are blemishes and splintered pieces. We don’t want those sheets!
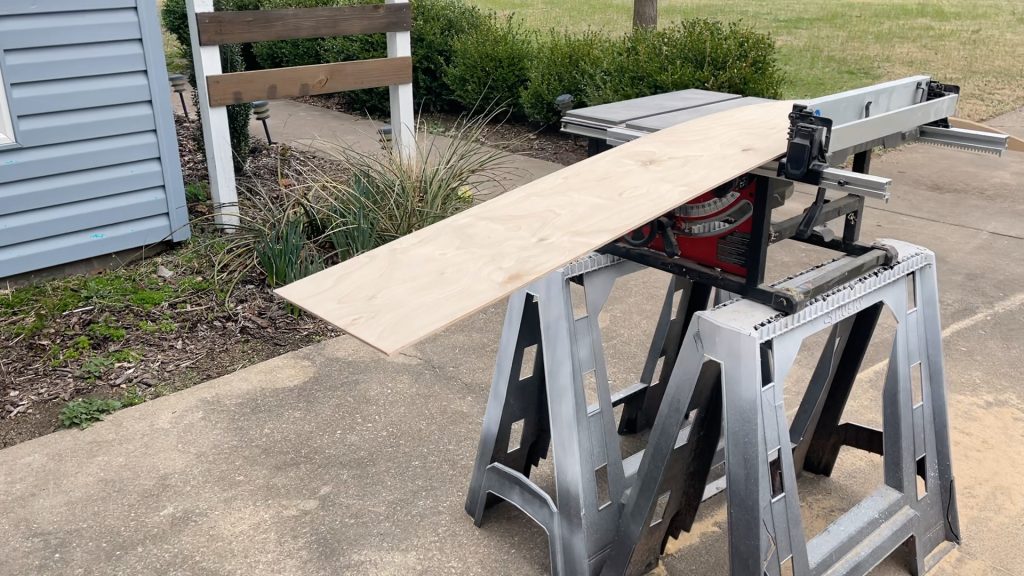
If you’re handy with a saw at home, you can easily rip down (cut longway) the sheets of plywood yourself.
However, most larger hardware stores offer this service as well. You can have them rip your plywood sheets down, and take your strips home! Check over your edges to see if they need a light sanding.
We ripped our “Shiplap” pieces 10 inches wide. I had seen it in a Flea Market booth and loved the look. So go ahead and customize it to any size you like!
DIY Shiplap Supplies
Plywood sheets (that will be cut into Shiplap “planks”)
Hammer and Finish Nails OR Nail Gun
Table saw (or have them rip the plywood sheets at your Hardware store)
Jigsaw (for cutting out light switches and outlets)
Miter saw (to cut planks to the length you need)
Several nickels for spacing
Stud finder
Level
Painting supplies and paint
How to Install DIY Shiplap Wall
Step 1: Prepping
*Purchase and cut plywood down to whatever size planks you’ve decided on. We ripped ours down to 10 inch planks. We bought two sheets of plywood for the small wall that we were doing.
*Mark studs on the walls with a pencil. It’s important that you nail the planks into studs!
*Make sure you have removed all nails, etc from walls. The walls don’t have to be perfect, but the more smooth and level the better.
Step 2: Nailing it up!
* We started at the ceiling with our first plank because we wanted a full width up there. There is a smaller piece at the bottom. You can do some math here to have full width all the way up and down. However, I wanted a 10 inch width, so that’s how we did it!
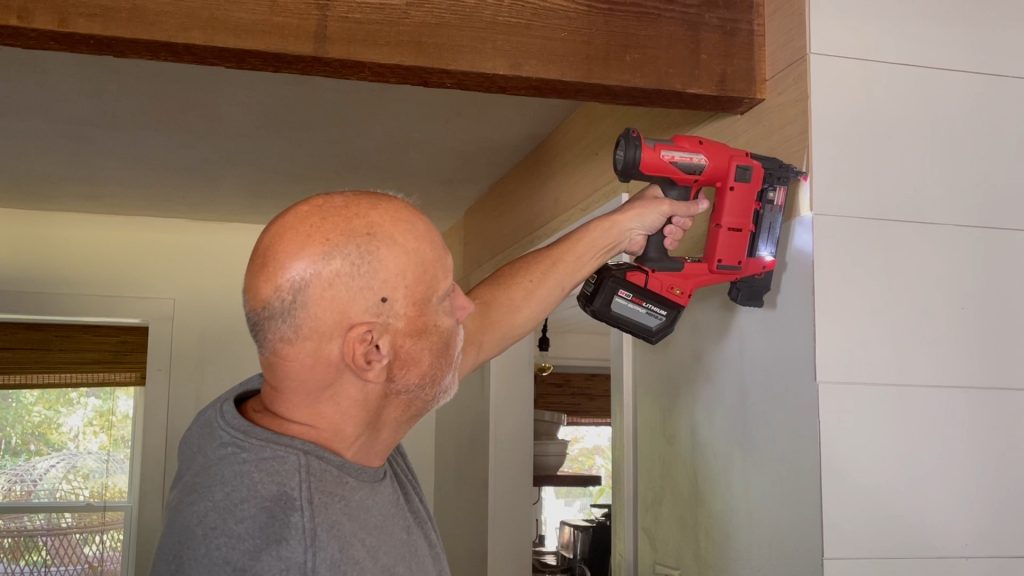
*Next we held up the next piece with nickels in between for spacing. This is a nice time to have the help of a friend! Nail into the studs. Butt pieces together to get the length you need. You can do this randomly or in a pattern.
*Use a level to make sure your boards aren’t going up wonky! Older houses (any house really) aren’t usually perfectly square. You may need to finesse it a little to get it level.
*Use your jigsaw to cut around light switches and outlets. We held the plank to the wall and marked it with a pencil.
*Continue to nail your Shiplap planks to the wall until you reach the bottom, using nickels as spacers. Rip (cut length) to the width you need with a table saw, circular saw or even your jigsaw. It’s good to measure this ahead of time, so you can determine what your bottom board width will be. Since we started at the top, it’s not as noticeable that the board is a different width at the bottom.
Step 3: Paint
*Fill the nail holes and caulk around the edges, if desired. We left the nail holes for a more rustic look, and love it!
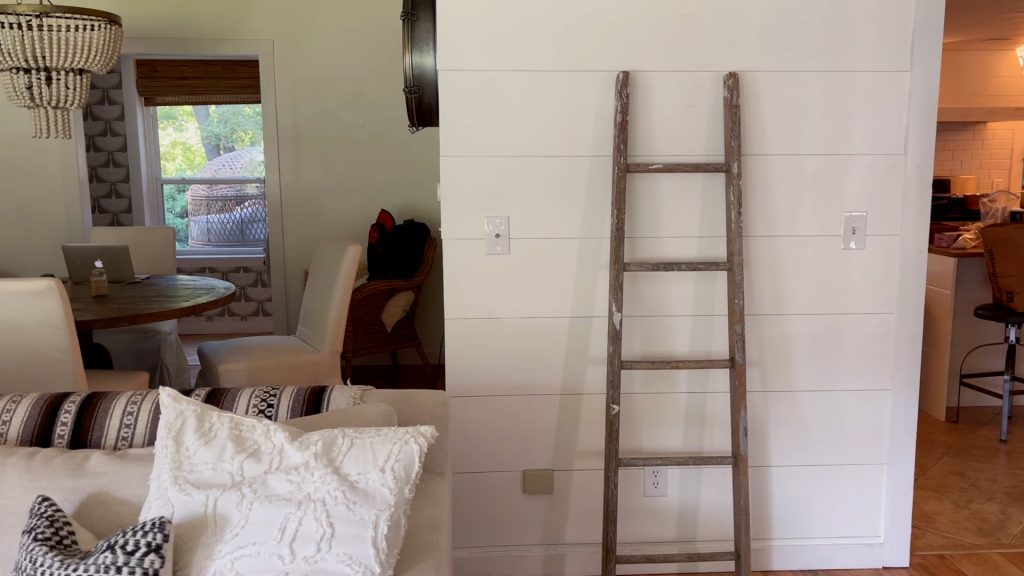
*Paint with your choice of Interior paint. We use a paint plus primer from Home Depot. It cuts down on the additional step of priming the raw wood. Our favorite finish is Eggshell and my absolute favorite white is Benjamin Moore Simply White. I have Home Depot color match it for me.
Step 4: Stand back and admire your work!
A DIY Shiplap wall is a great beginner project. You’ll need a few saw and nailing skills (or can learn them). Probably the trickiest part is cutting out the outlets and light switches, as well as making sure it’s level.
It goes pretty quickly once all of the prep work is done.
Conclusion
I’m so happy with how ours has turned out. The entire wall only cost us about thirty dollars! The tongue and groove boards would have been at least three times that. Win!
We have a lot more to go! It adds such texture and character to our vintage 1980 house! From 1980 to 1880? I’ll take it! Ha!
Thanks so much for joining in the fun today. Let me know in the comments if you have any questions.
Also, I would love to know if you do this Cheap and Easy DIY Shiplap Wall. It’s definitely worth it and can be done on such a small budget!