
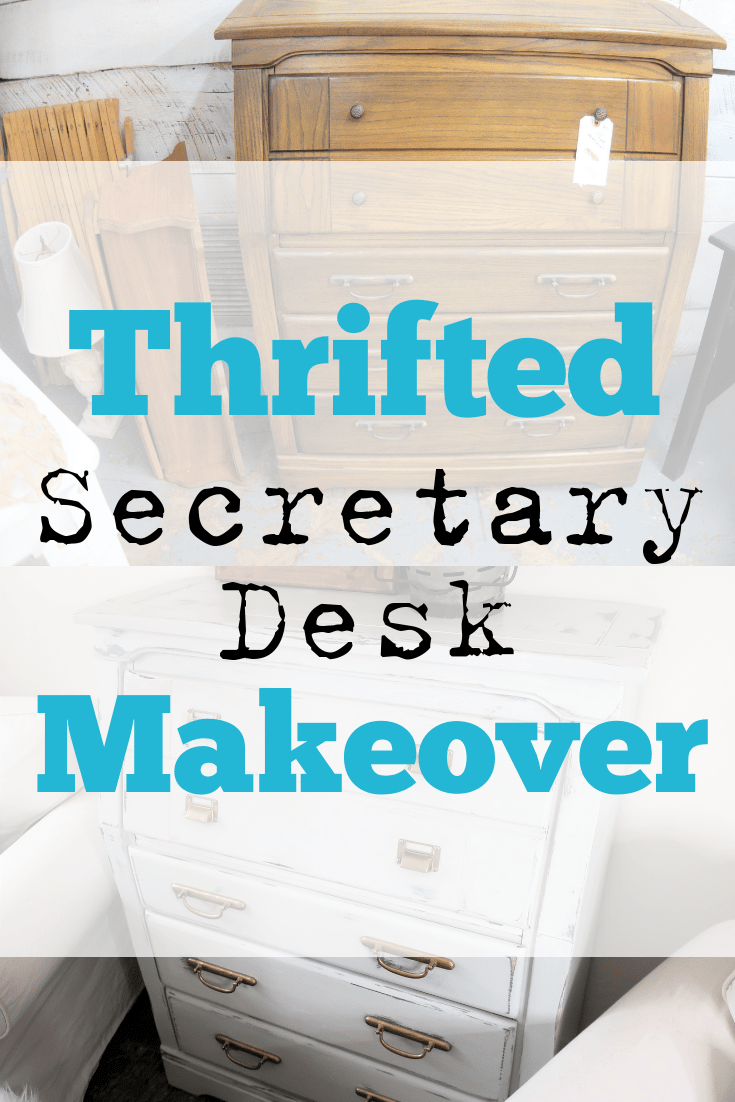
Thrifted Secretary Desk Makeover
A fresh desk makeover
I’m so excited to share this thrifted secretary desk makeover with you. Even though I’ve been painting furniture for years, it continues to amaze me what a transformation it can make!
Right after Christmas, Rob and I went out to a couple of Flea Markets. Of course I have my running list of furniture that I need (want?). I’m always on the lookout. But I really didn’t think I would find anything on that trip, mostly because I was sticking to a really tight budget.
One item that had been on my list for several months was a small dresser or desk. I needed it to have nice size drawers for a little extra storage in our guest bedroom.
Our guest room is the smallest bedroom upstairs. This is the room my grandchildren or other guests stay in.
I’ve been trying to pull it together for awhile. But like the rest of this 1980s fixer, it has some odd features! But more about that later.
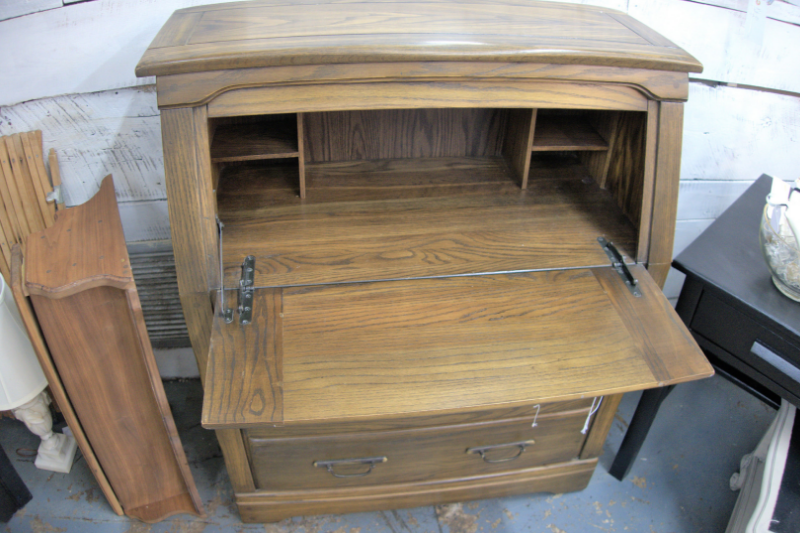
Flea market find
There she was in all her vintage glory! Right price, right size, right style, and a desk as a bonus. All of the dressers that I had happened upon were at least $90 and this one had a price tag of $55. Many I had looked at were so old that their drawers didn’t work correctly. Hey, I’ve got enough of that nonsense going on in my kitchen. I’m out!
I was pretty excited that even the drawer hardware was good. In most cases I want to change it out, and that can get expensive.
Before
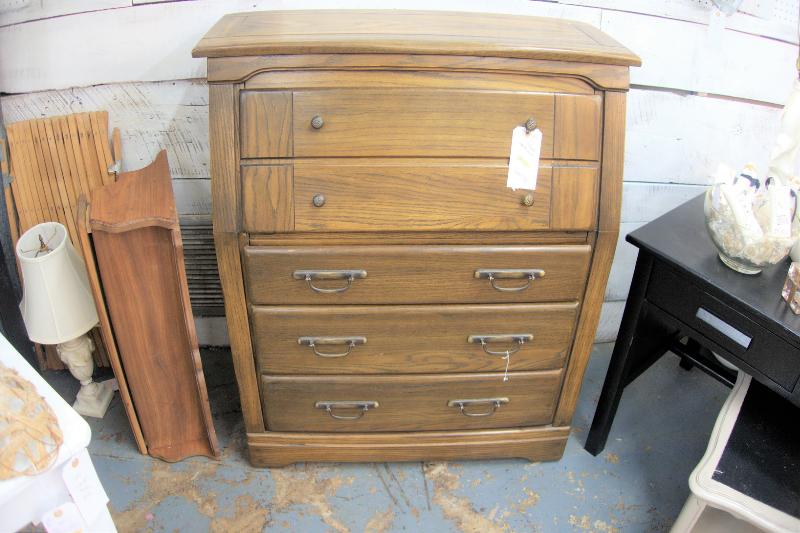
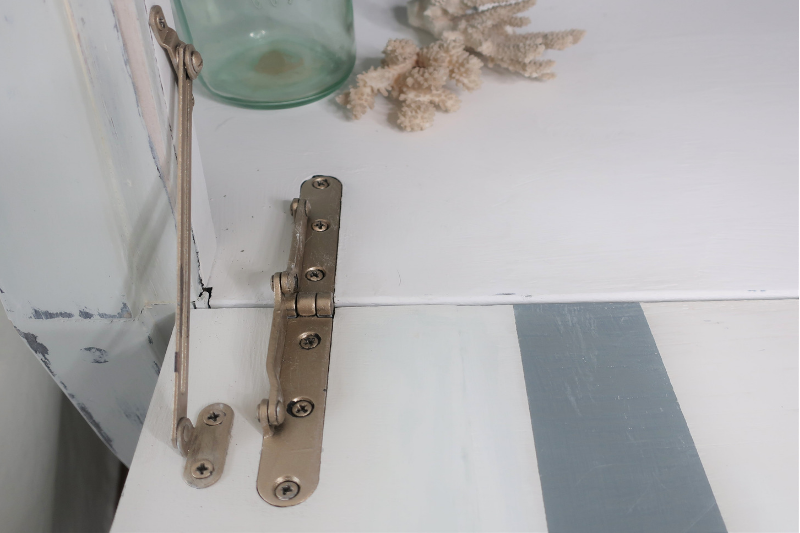
The simple lines on this vintage desk were just what I was looking for. The drawers operate perfectly, which isn’t always the case with older furniture.
Drawer pulls
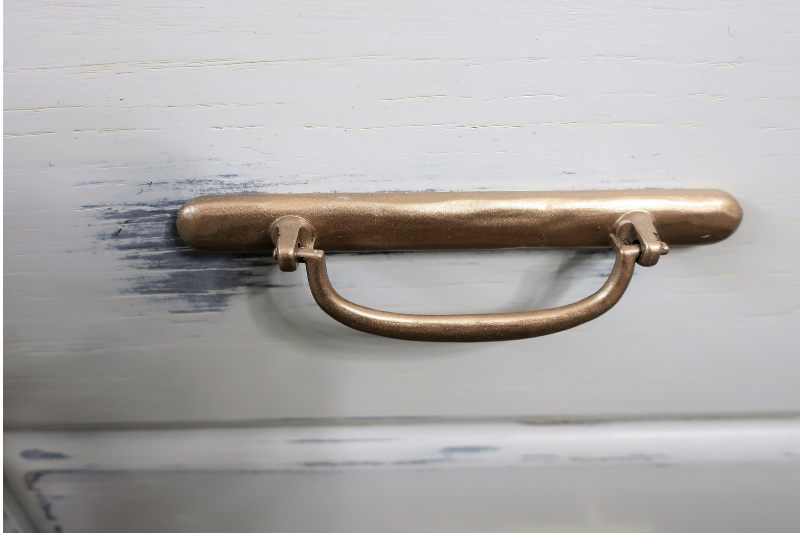
The original pulls were pretty with a coat of gold spray paint. However, the little knobs on top looked a bit dated.
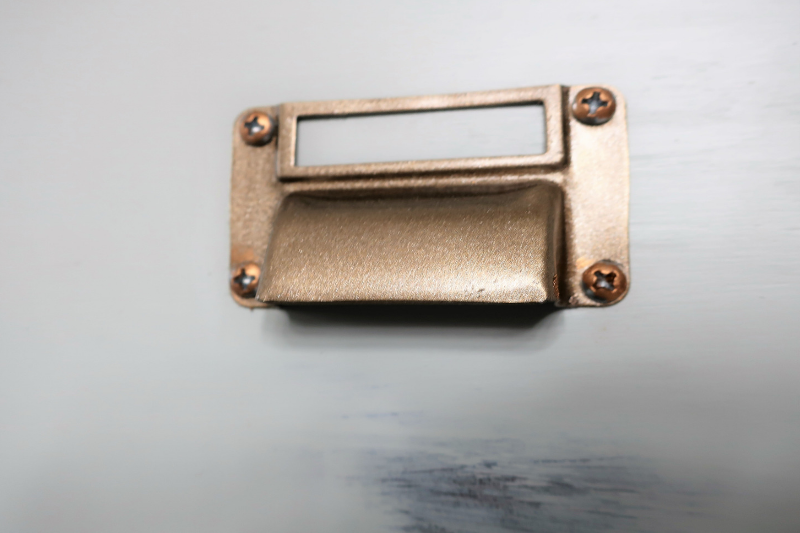
I searched through my stash and found these drawer pulls. I had ordered them on Amazon for a different project that I didn’t use them on.
Rob had volunteered to screw the drawer pulls on. Simple right? No! It was quite an ordeal to get these on. The wood had dried out over the years. The wood cracked, twice! He glued it with wood glue and clamps. Then we thought it would be a good idea to use brass screws to match the gold paint. They kept snapping half way in. So we bought silver screws and touched them up with paint. Done!
The process
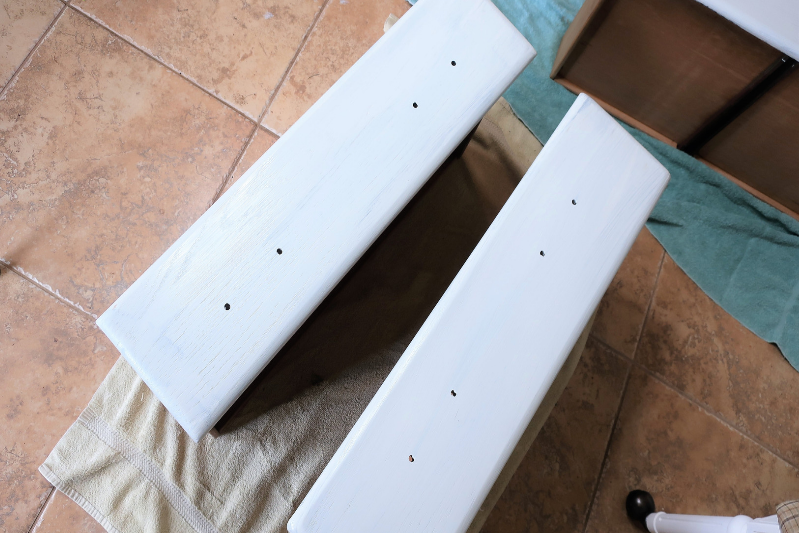
For the paint I used DIY Chalk style paint in an HGTV color called Sea Salt. I picked up the swatch at Lowes, but had it mixed up at Walmart in a quart of Kilz flat paint. If you want to make your own Chalk style paint, you can check out my tutorial right here.
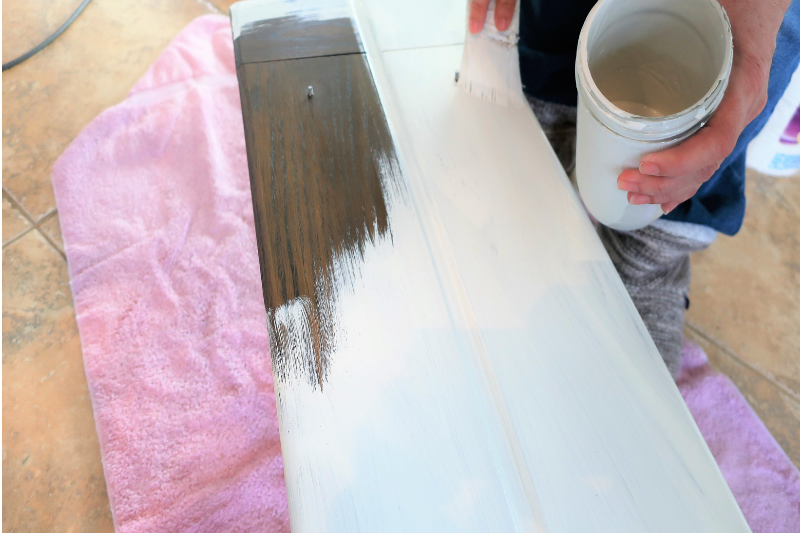
I just brushed it on. Other than just wiping it down well, no prep needed!

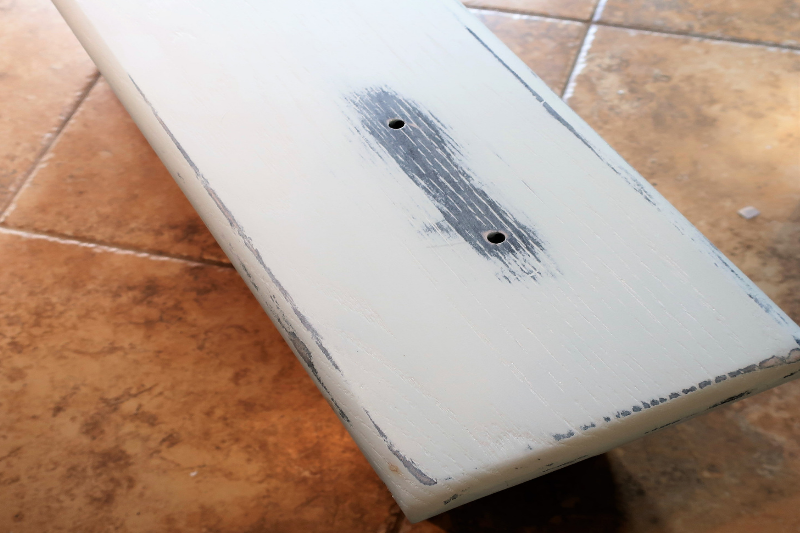
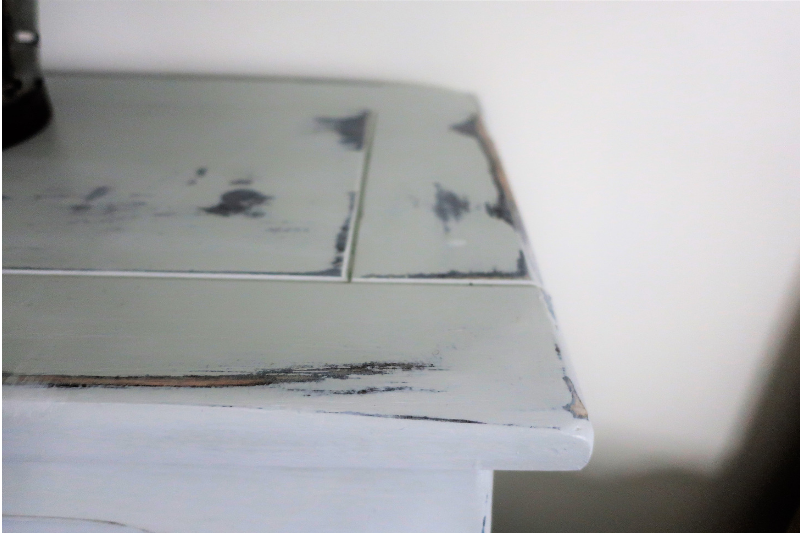
I applied two coats. Then I used some 120 grit sandpaper to distress it. I was going for a very coastal feel and I wanted a good amount of distress.
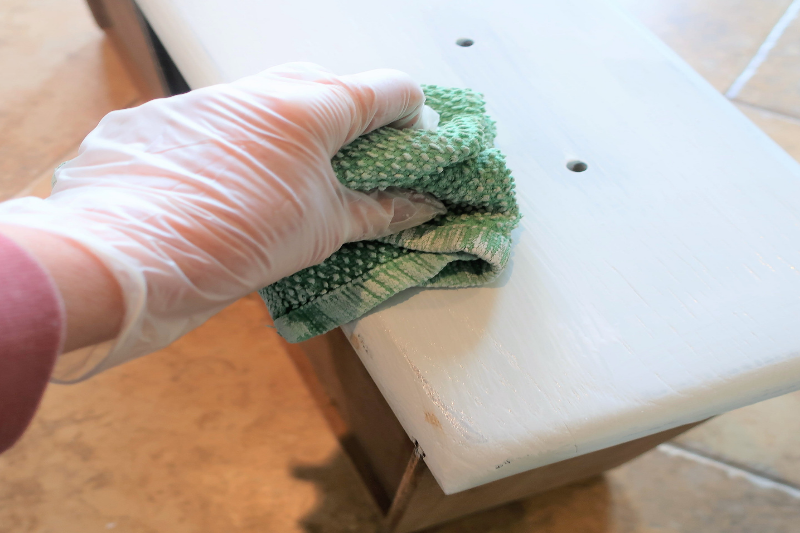
However, it ended up looking like a bit too much contrast. So I watered down some white paint and wiped it all over the piece. The driftwood, whitewashed kind of look was just what I was going for.
Two coats of Polycrylic were brushed over the top to protect it and make it wipeable.
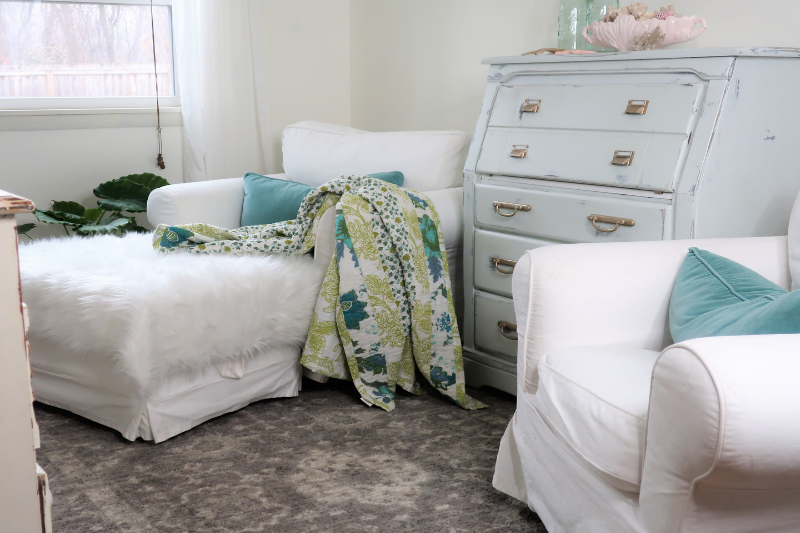
After
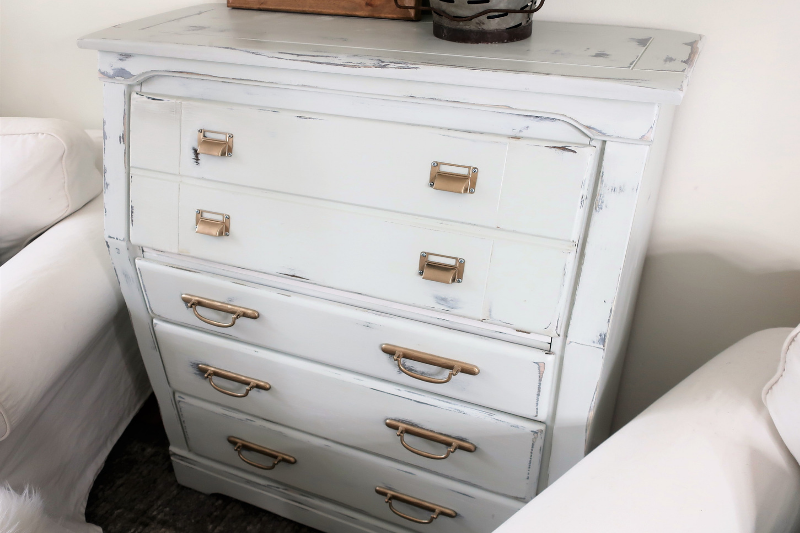
The reality is that it never made it to the guest room! I loved it so much that we put it in the sitting area of our bedroom. The coastal, farmhouse vibe is just what I was looking for to go with my slipcovered chairs.
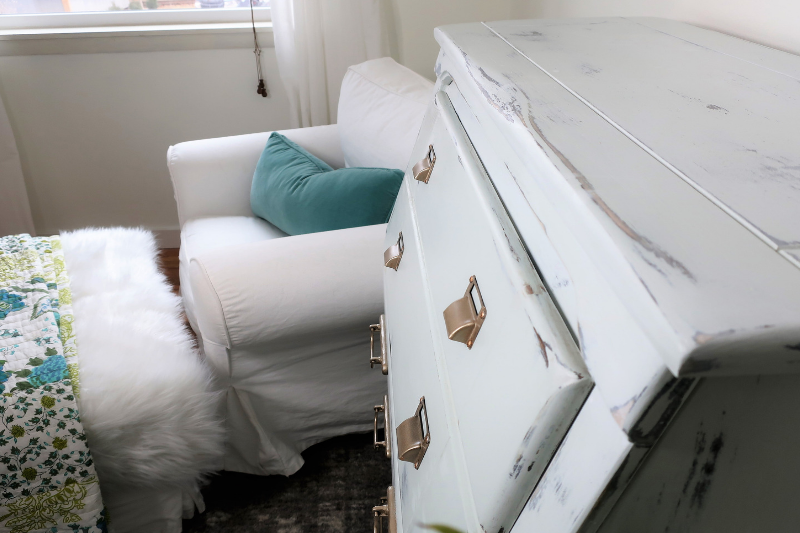
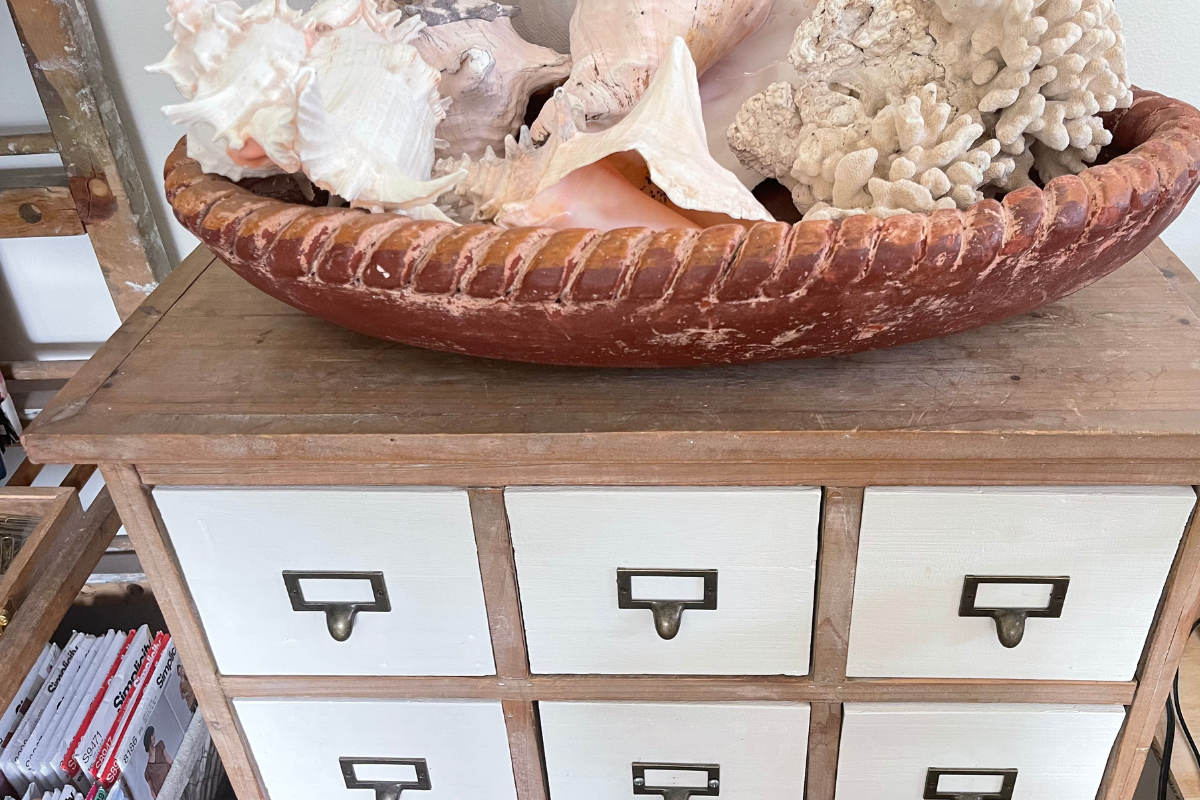
Styled
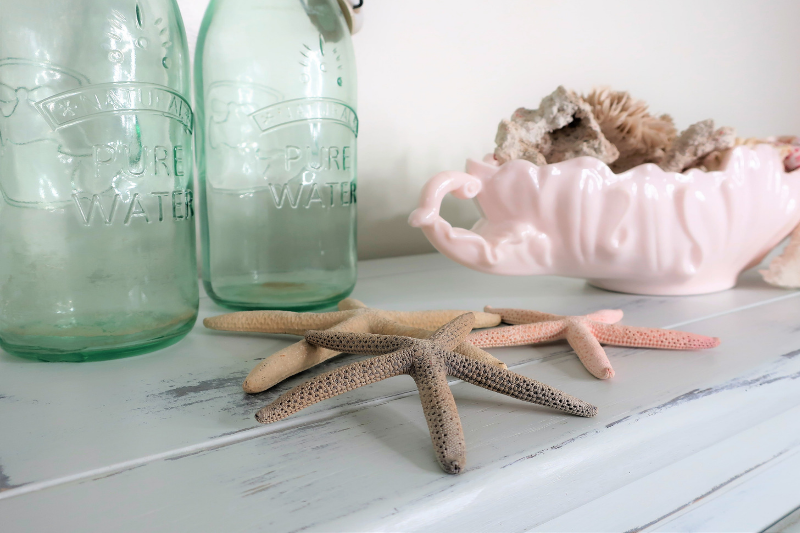
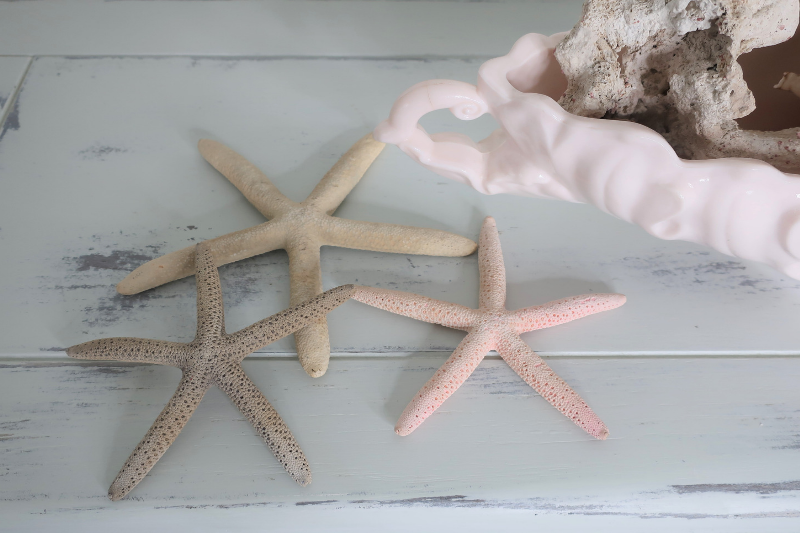
Spring is just around the corner so I decided to add some pastels to the mix.
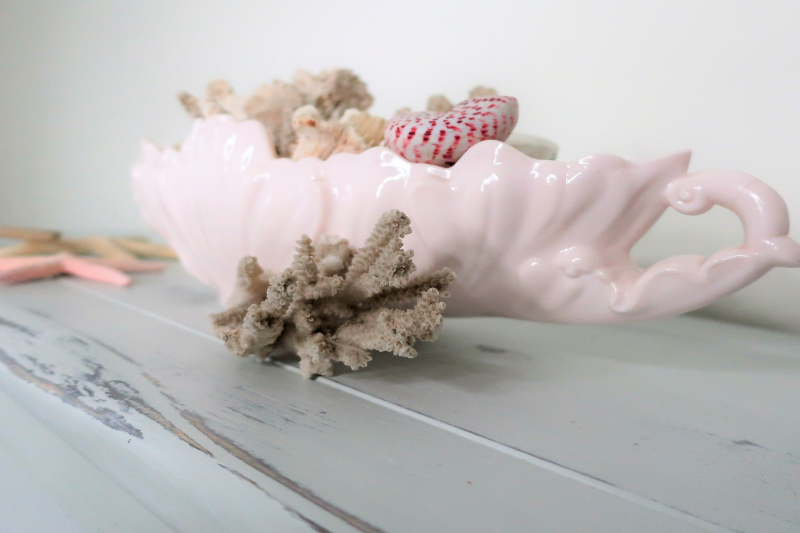
This pink, vintage Flea Market find is a perfect container for seashells.
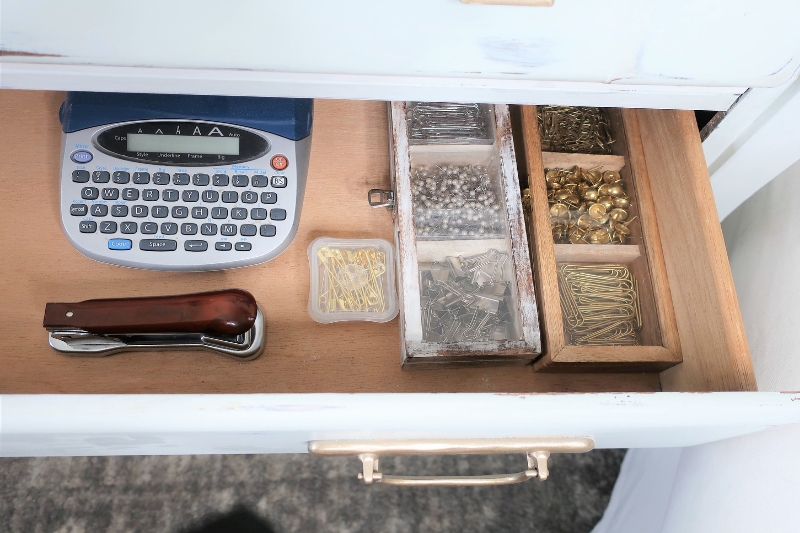
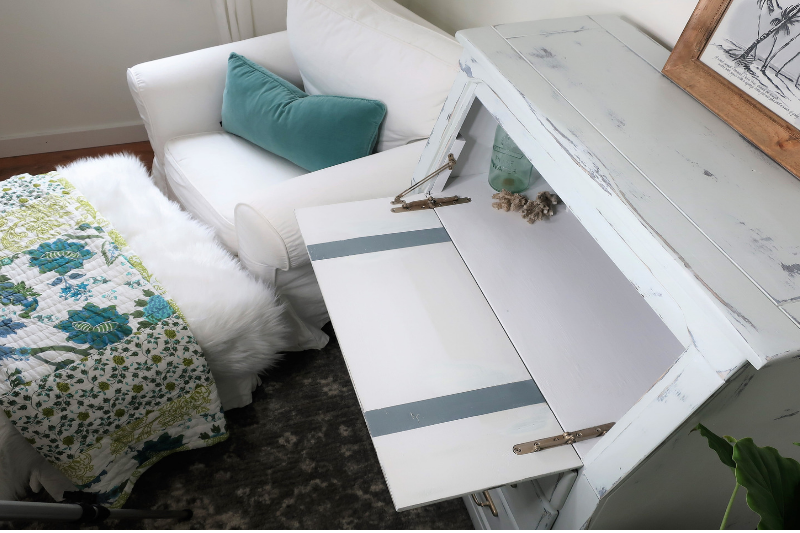
The wood finish inside the drawers is a nice color, so I left it as-is.
The drawers offer a nice amount of extra storage for office supplies and accessories.
What do you think? I’m sure she’s a keeper.
About the guest bedroom. I’ll keep you updated in future posts, as I figure out how to deal with four doors in one small bedroom; a too small, off- center window; an old skylight that can boil a lobster in the summer. Oh, and angled, popcorn ceilings.
Ok? Got my work cut out for me!
Conclusion
Dated furniture can be updated to fit your modern home. You’ll have a beautiful space and save bundles of money! So start looking for your makeover piece. Take your time and enjoy the process. You’ll be so happy with the results, I just know it!
Don’t forget to Pin this for later!


One Comment