Thrifted Chair Makeover
DIY Thrift Chair Makeover
Browsing through online catalogs and Pinterest, I see a lot of beautiful furniture. Maybe you’re not a furniture junky like I am. But stay with me on this one because we’re going to save a bunch of money! You like money, right? Ok, we’re on the same page now.
Gorgeous Ballard Designs Chair Hack
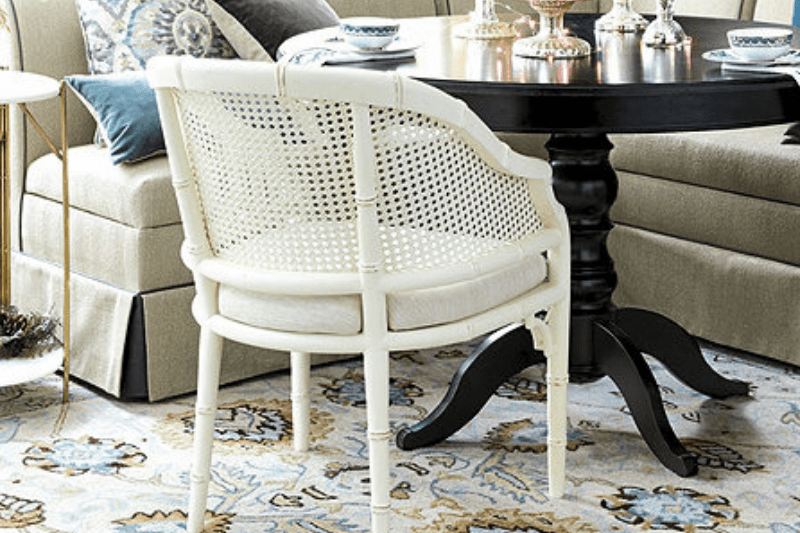
This gorgeous chair from Ballard Designs was on my radar. I’m redoing a cute secretary desk and I need a chair to go with it. I’ll take this one please. Wait, it’s $599! REMOVE FROM CART.
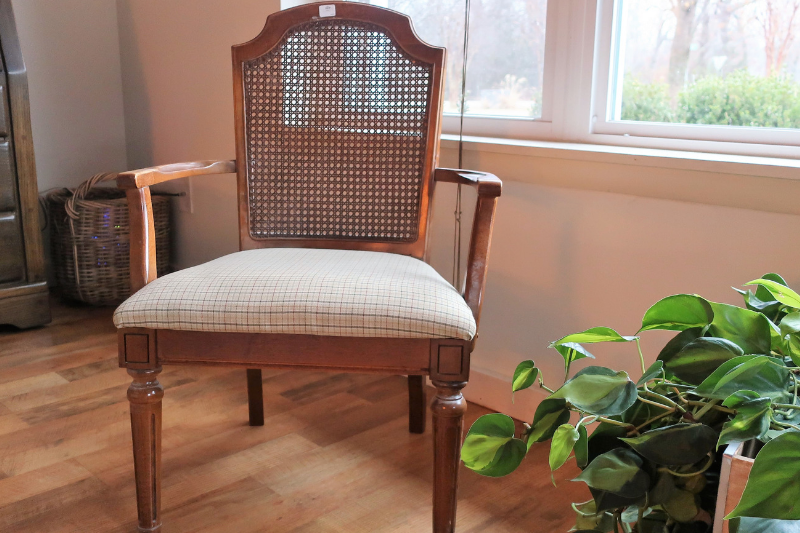
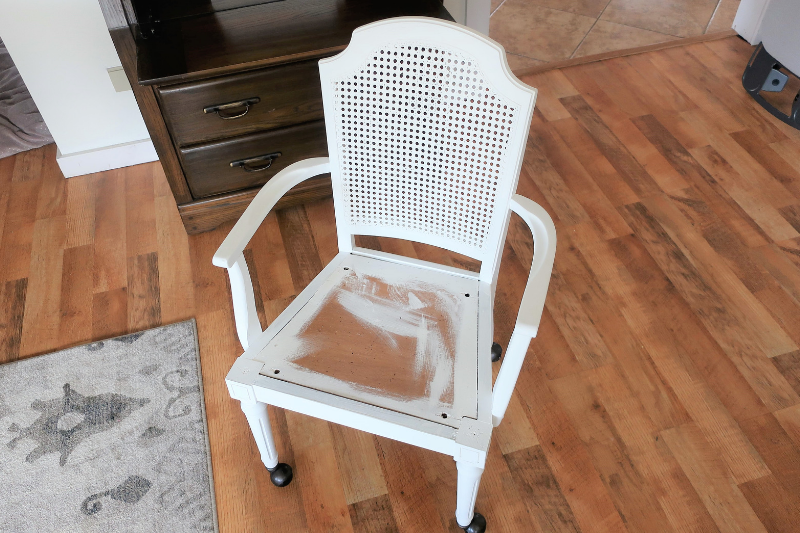
Then this little ugly Duckling showed up at my local thrift store for $7. Could I turn her into a beautiful Swan like the Ballard Designs chair?
How We Did It
For this project, I used Kilz Chalk Style paint in White. Not a very creative color name! But it is a true white and not a cream.
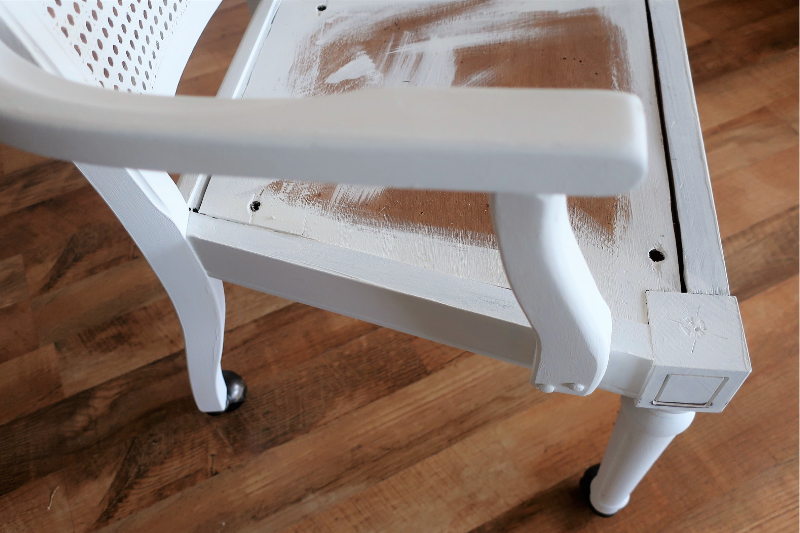
Rob jumped in and gave it a light sanding. He believes in sanding. But the beauty of chalk style paint is that you don’t need to sand, unless it’s a very glossy surface. Just give it a good wiping off with a rag and some vinegar and water. I use soapy water if it’s really grimy!
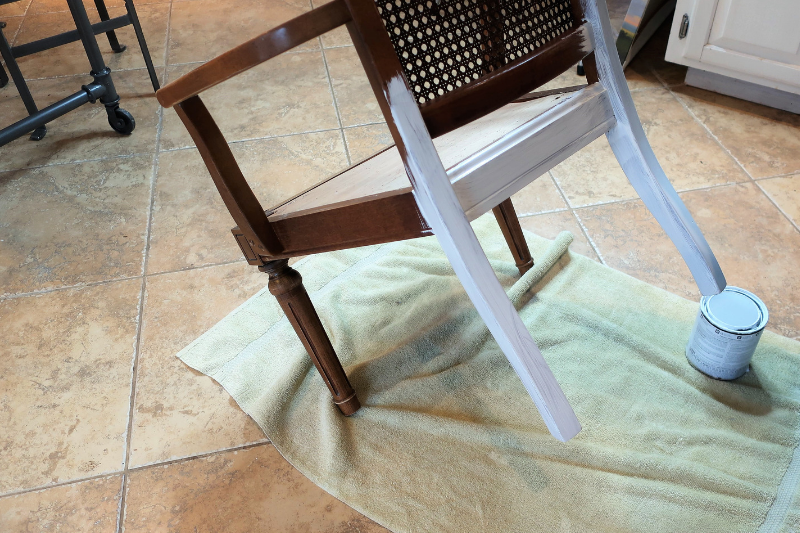
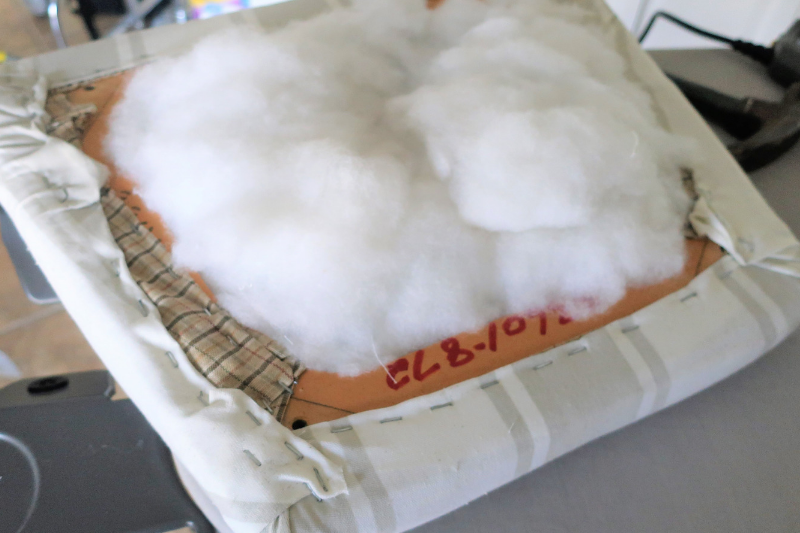
We removed the seat by unscrewing the four screws underneath. I love these kind of chairs because it’s so simple to update the cushion. No sewing required!
The first coat of paint was brushed on. Unless you’re using a sprayer, it’s typical for it to look, well, kind of like primer. You might be thinking that you’ve ruined it. But just keep going and it will look great, I promise.
We used two coats on this chair. Some pieces require three. After everything was dry, we lightly distressed it with an 80 grit, which is quite rough. We found that the Kilz paint adheres really well. Then we finished it off with a 220 grit, to make sure it’s smooth. You might need to just experiment here. Start with a less rough sandpaper (higher numbers), and work your way down if needed. Then finish it off with a high number, so it’s smooth.
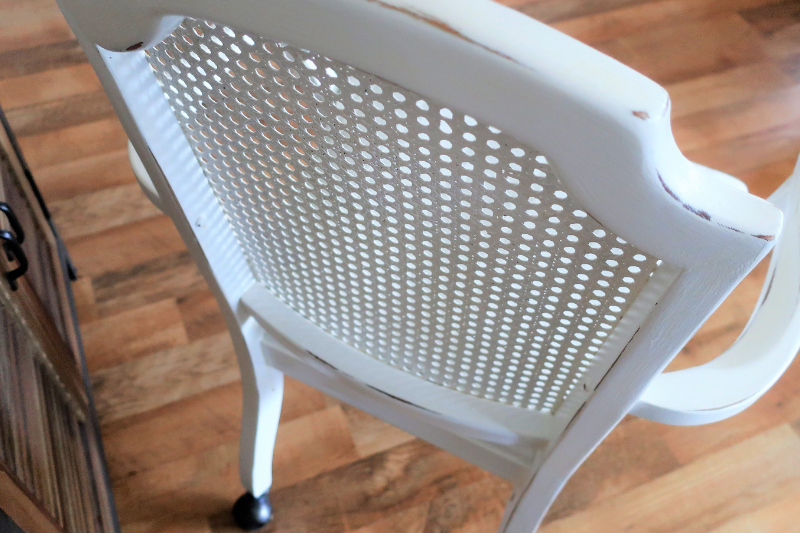
We finished it off with two coats of Polycrylic to seal and protect it. This keeps it from further distressing and makes it “wipeable.” I can dust it off every once in awhile. Not that it happens on a regular basis around here!
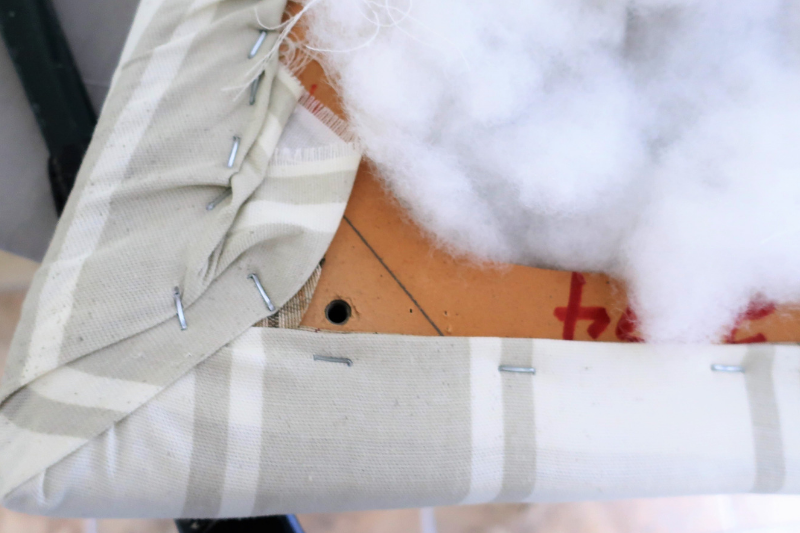
Then it was on to the seat. Lay your seat cushion down on the wrong side of your fabric and trim the excess if needed. If you choose a stripe like we did, make sure they’re located where you want them. I wanted the large stripe right in the middle. Use a staple gun to adhere the fabric. Start at the back with a staple or two. Then pull it tight to the front and continue around. Alway pull your fabric tight and make sure it’s smooth. If you don’t have a staple gun and don’t plan on buying one, you could actually use duct tape, super glue, or hot glue for this step. Just take your time and make sure the front is smooth and tight.
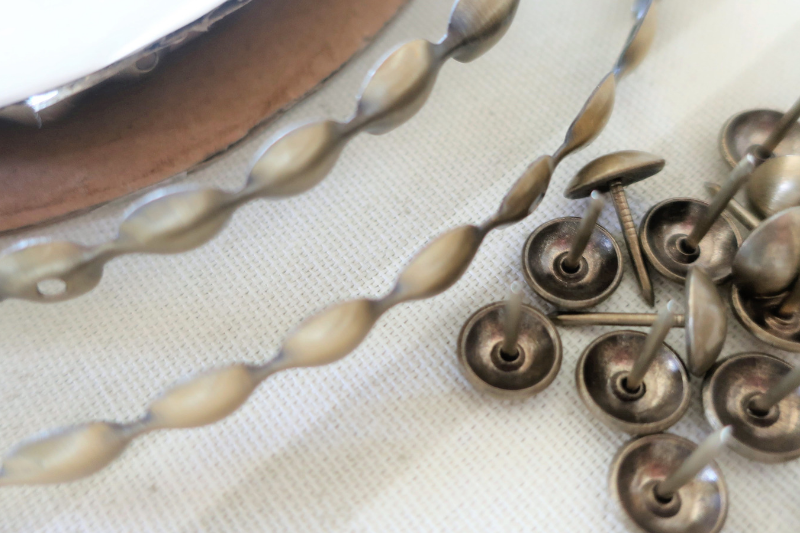
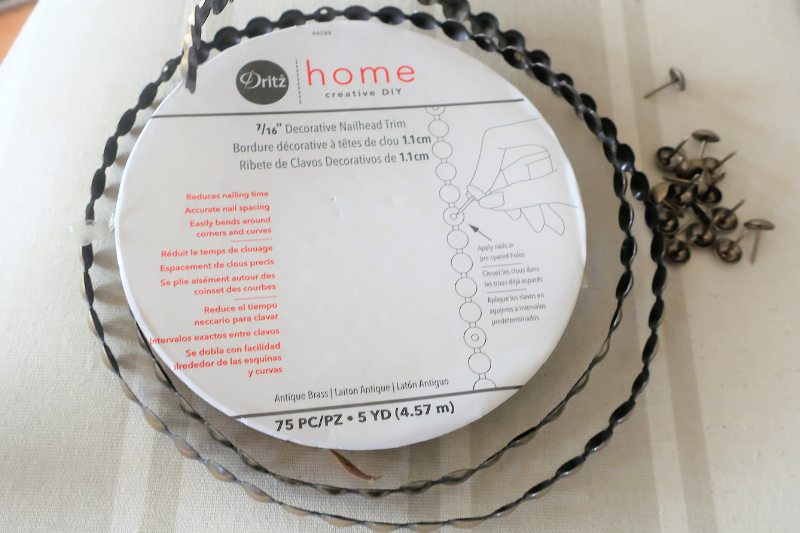
Finishing it off with nailhead trim was the icing on the cake. I’ve always wanted to try this nailhead trim and this was my chance. Rob and I both worked on this together and it was helpful to have one of us holding the nailhead trim straight, while the other one worked the hammer. However, I’m sure a single person could also do it.
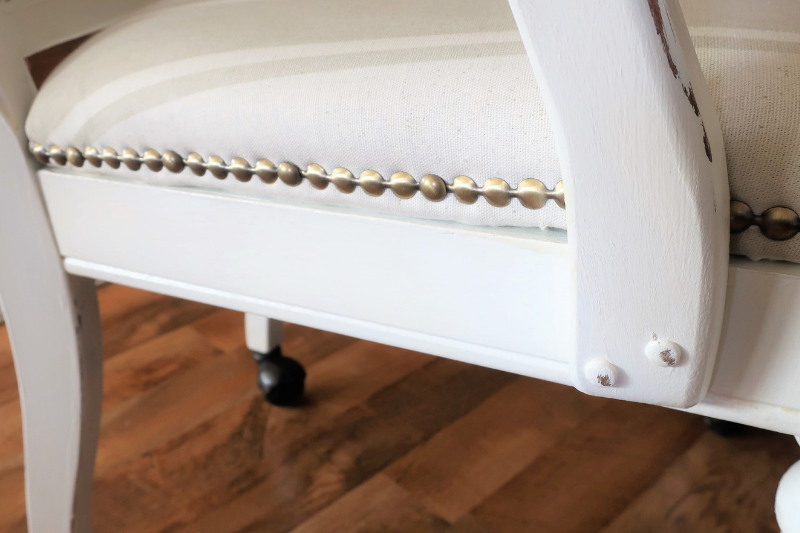
We added wheels on the bottom. Because lately, I want everything on wheels! I do like to move things around a lot.
These caster wheels are my favorite, with a little touch of antique gold and some vintage style.
The Finished Chair
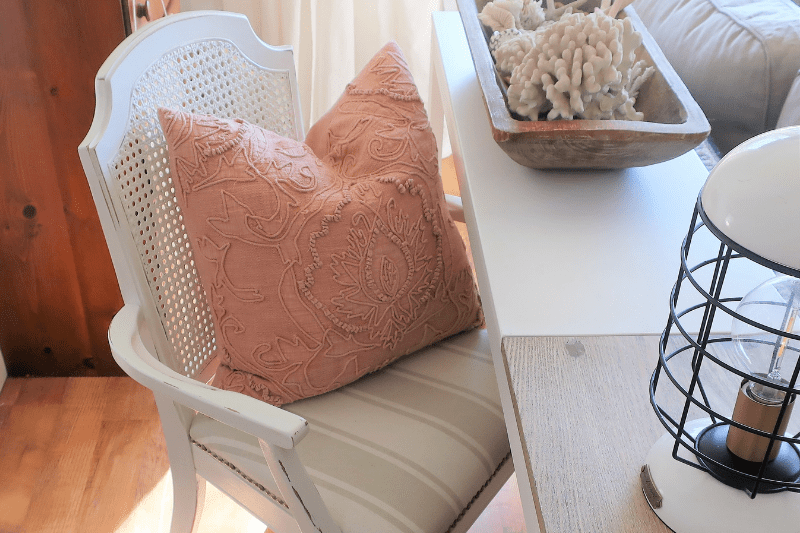
So here she is. The ugly Duckling that became a beautiful Swan, with a little effort anyway. It’s not an exact match to the Ballard Designs chair. But I feel like it gives the same style vibe.
Most importantly, our total cost was only $35, giving us a savings of $564! That’s “a high end look without the price tag” WIN in my book.
A chair like this could be used at a desk, a vanity, in a bedroom, or bathroom. There are a lot of possibilities. Good thing I put wheels on it!
Here are all of the products we used for this makeover.
Kilz Chalk Style Paint found here.
Caster Wheels found here
Fabric found here
Polycrylic in Satin Finish found here
Nailhead Trim found here