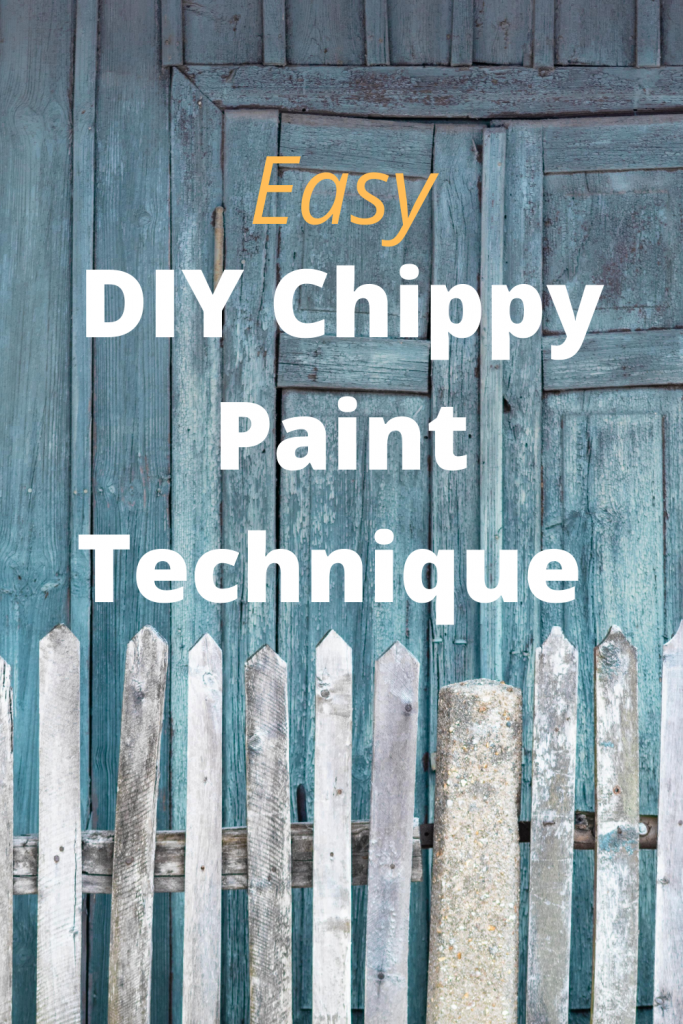
How To Create a Chippy Painted Furniture Finish
Chippy, painted furniture has become a classic for farmhouse and cottage style. You can have a lot, or you can have a little. But there’s no denying that a chippy, painted furniture finish adds warmth, and that vintage home decor vibe to a space.
However, if you want to pick up an authentic piece of chippy painted furniture, that has aged over the years, it can be pricey.
So I asked myself, “Self, why not create a chippy, painted furniture finish on your own?”
Are you asking that same question? Awesome. I’ve got the easy and cheap answer for you!
Easy and cheap, my favorite!
What You’ll Need
You might have a few of these on hand already. Especially if you’re a DIY addict like me!
*Furniture piece or whatever you want a chippy finish on. For the purposes of this tutorial, I recommend a wood piece.
If you want to watch the video of how we made these DIY column lamps, click here or here.
*Stain color of your choice. You’ll only need stain if it’s a raw wood piece or you don’t like the current finish. If this is the case, you’ll need to sand before you apply the stain.
*Milk Paint color of your choice. I used Miss Mustard Seed brand for these lamps. However, there are several brands to choose from.
*Wax and rag, cheesecloth, or wax brush. There are so many to choose from! I used what I had on hand from the hardware store and it worked great. I’ll be trying different brands in the future.
*Sandpaper fine grit. I used 180 and 220. A coarser grit will leave more of a scratched look if you sand your piece with it.
*Top Coat wax or polyurethane of your choice. I used a spray can, matte finish polyurethane.
Want a printed version of the step by step directions? Opt in to my FREE newsletter and resource library below!
Step 1
Base finish:
The base finish that is on your furniture is what will show through the chippy paint finish. This could be paint, stain, or raw wood.
If you like the finish, you're done with step 1! Move on....
In my case, it was raw wood on my DIY column lamps. I wanted a layered, worn over time look, so I added a stain onto the wood. I considered putting a layer of gray paint also. But that will have to be for another project.
If you have a stain that you don't like and want to change it up, you'll have to do some sanding. I recommend an electric sander if you have one. You're trying to get rid of the old finish.
You could also use a stain/paint stripper. It just depends on how much work you want to put into it.
I let the stain dry overnight.
Step 2
Wax:
Step 2 is waxing your piece. If you want chippy goodness all over your piece of furniture, then wax the whole thing. If you want it extra chippy, use extra wax. Less chippy, use less wax. You get the idea.
Since I was using a harder furniture wax, I used cheesecloth to apply it. I placed a chunk inside of a piece of cheesecloth, and the heat from my hands helped it to melt onto the wood.
If you're using a softer wax, such as Annie Sloan's, you can brush it on or use a rag.
Let dry for at least a half hour or so. You don't want the Milk paint pulling off the wax when you chip it off.
Paint:
Milk Paint:
Mix whatever Milk paint you've chosen according to directions. It should look like heavy cream or even thicker for more texture.
I applied two coats and let them thoroughly dry.
Step 4
Make it chippy:
Now comes the fun part! Grab your sandpaper or sanding block. Use a flicking motion to start the paint chipping. You can do a bit of sanding also.
Keep going until you like the amount of chipping.
Step 5
Top coat:
Finish off your beautiful creation with a top coat of your choice.
I sprayed two coats of matte finish polyurethane on my lamps. This makes them easy to dust and wipe clean should a rogue, (grandkid!) spill happen. Ya never know, right?
Let dry and enjoy all the compliments, and probably requests for your paint finish services!
Thanks so much for visiting today.
Let me know if you try this finish. I just love it and have to stop myself from doing too many pieces like this!
See ya next time,
Tanya

What state do you live in? Texas? Unable to find any mention of your residence. You do a fabulous job of thrifting. Cheers
Hi Jeanne. We live in Arkansas. So happy you enjoy the thrifting posts! Have a great rest of your day.